Wednesday, April 19, 2023

A Loveitt Cottage - Delving Deeper into Our Old House History

Since the last update, I’ve spent more time researching our house’s history.  Maybe it's because it's 125 years old, but the research has included far more twists and turns than I've found on other homes.  And while some of the twists and turns led us astray, we've continued to learn how this house was built and expanded over the years.

Here's the history of our house in a snapshot


Twist & Turn 1: When I first shared some of the photos and information I found, I got a Facebook note from someone who said he knew a lot about the house.  Hmmm….strange man wants to meet?  Is this some kind of scam?? 😂😂 It turned out it was Ian Stephensen from Portland Landmarks, who thought he had information on the house.  He had done his thesis on Civil War veterans who built summer homes and thought the house might have been John Gould’s cottage. Gould wrote a daily journal about building the house, so there were detailed notes about his experience with home building.  And that was quite a feat in those days – because you couldn’t just ask the lumberyard to drop off the materials from their truck.  Instead, Gould wrote about loading materials into his boat in Portland and rowing them over to the project.  Wow!  It's hard to imagine how much of a challenge that was.  

But after Ian and I explored every inch of the house - and he went back over his other research - he concluded it wasn’t Gould’s house.  I was so sad to hear this, I loved reading his accounting of building a house in those days.  My favorite quote from his journal about building his summer house: "It's no fool of a job to build a house!"  True words!


Twist & Turn 2: Next, I wanted to try and see if the house was indeed a cottage of the Cloyester hotel, which was a story I heard from several neighbors.  Ian helped me figure out the very confusing deed history and we just couldn’t find any connection with the Cloyester.  With that path a dead end, there was more research to be done!


Still a mystery:  The deed search helped a lot, but didn't help us figure out when was the house was actually built.  The city records say 1898, but the deeds don't clarify that and the Portland directories didn’t start recording South Portland homes until 1915.  So I tried to go back a bit farther in history.  


Years ago, my husband and I bought an antique map of the area, dated 1871.  At that point in time, this area was called Point Village and showed every home, the name of the owner and also lots of business listings.  A very cool map!  And it's fun to see so many of the street names we know today were from the original residents.


Our house doesn't exist on this map.  Our neighborhood is known as Loveitt's Field and it truly was a field in 1871! That whole area was owned by the Loveitts (along with a lot of other Loveitts in the area)
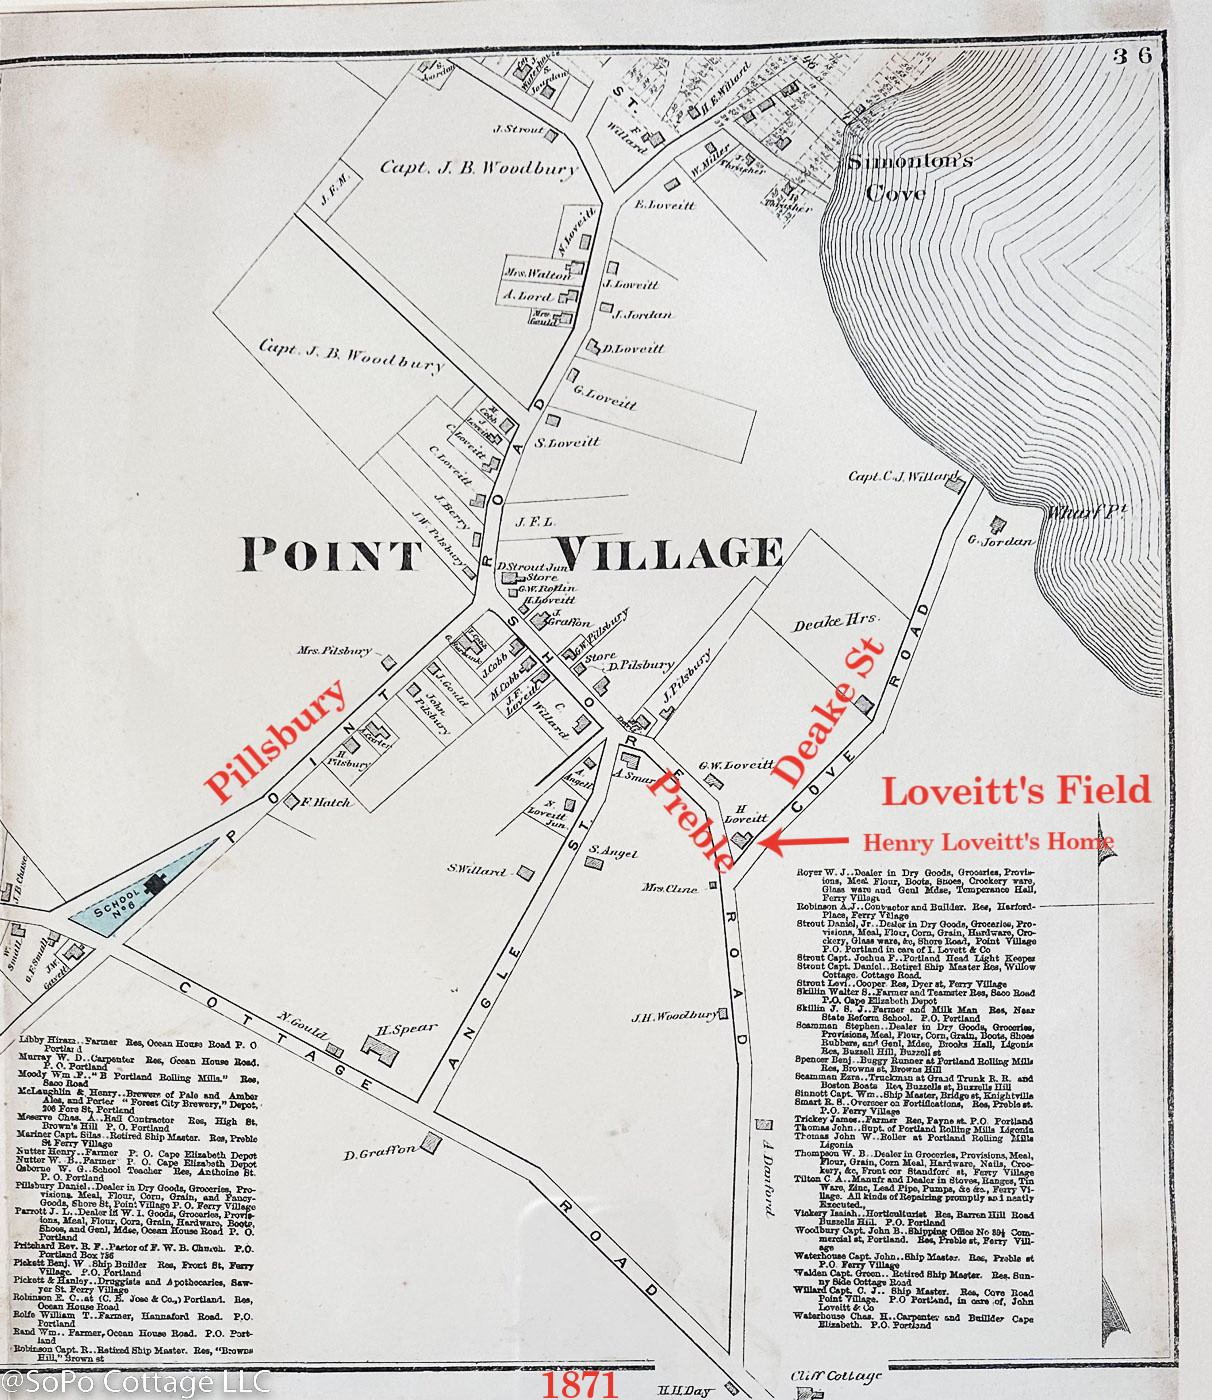


Henry Loveitt 1827-1906
I needed more information and turned to a couple of old Loveitt's Field neighborhood written histories, that came from interviews with elderly neighbors.  The neighbors reminisced about the blueberry bushes and open space that were there before homes were built. 

A key resident before 1900 was Enoch Loveitt, a farmer.  Born in 1802, he died in 1892 of 'old age' and he divided his estate in equal parts to his sons Henry Loveitt and George Washington Loveitt.   George worked as a fisherman, but his brother Henry was in real estate.  By the late 1800’s Henry Loveitt found they could build cottages and rent them out for the summer (early airBNB!).  The ’Loveitt Cottages’ were painted a distinctive yellow and brown (which are two colors we find on some of the old clapboards buried in the walls of our house!). By the early 1900's there were so many people coming to the area in the summer that local residents asked the South Portland Council to appoint a policeman for the summer months (from Dirt Roads to Tarred - by Sally Newell).


We believe our home started as a Loveitt Cottage.  The brown and yellow clapboard and trim that we found are great links to its history.  And the multiple expansions are consistent with a cottage that was added onto over time.  Was it really built in 1898?  We may never know, but that's what the City records show.


From what we can tell, the cottage was popular with renters.  Apparently our cottage was rented on a regular basis by Mary Dana and her husband John.  In fact, the 1909 Sanborn Fire Maps show the house as ‘Casa Dana’.  It makes me wonder how often you have to rent a cottage to have it nicknamed after you!


They liked the cottage so much that in 1915, Mary Dana purchased the cottage from Frederick Loveitt (Frederick and his sister Henrietta Loveitt Cloudman inherited the property from their father Henry Loveitt, who died in 1906).


Interestingly, John Dana was a principal owner of Richardson, Dana and Co Lumber on Commercial St in Portland. So it’s  likely that some of the original additions to the property were done during their ownership.  This was a summer home for them – they lived in Portland’s Eastland Hotel during the winter (imagine living in a hotel for most of the year!).  But we know from old photos that a fireplace/chimney was added between 1906 and 1920, so their updates may have included adding a heat source to extend their summer season, before returning to Portland.

Richardson Dana & Co, 326 Commercial Street, Portland. 1924, Item 93211,  Maine Historical Society,  https://www.mainememory.net/artifact/86128/image/93211


In the meantime, Frederick Loveitt was becoming quite a real estate developer.  I love this map that he created in 1925 for a subdivision called Loveitt Heights.  It includes the single parcel of property with the cottage that Mary Dana purchased from him.  It also shows the split of property between Henry and George Washington Loveitt.

1925 plan showing Mary Dana owning the property (single lot)

In 1927, the Dana’s sold the house and built a new summer home on Graffam Rd, just a few blocks away. 


Brown Ad in 1929 Portland Directory
They sold the house to Merle and Alice Brown who lived in the home full time. Since it was previously a summer home, they probably made updates to the home for year round living.  Merle was a successful Investment advisor and obviously saw the value of the property.  

In 1929 Merle purchased 3 additional lots that surrounded the property, which gave him the ability to expand the size of the house.  Our guess is they put the additional rooms on the back, to create the ell that expands the kitchen and connects it to an outbuilding (which is today a garage)   But with the Great Depression hitting at the end of 1929, the updates may have suddenly slowed.

We found this on a divider wall between the bathroom and bedroom.  So maybe the Brown's added indoor plumbing? Interestingly, this isn't your typical 2x4 wall.  It's more like pieces of 2x2 fastened to beadboard paneling to create a wall (and there was drywall on top of that, added at a later date.  A very skinny and not very sturdy wall!)
Merle and Alice Brown must have added this interior wall that created a hall bathroom


Merle Brown died in 1936 and his wife Alice lived in the house until 1943, when she sold to Philip and Narcissa Willard.  The deed shows all four lots as well as the buildings were part of the sale. Our guess is that included the house and the outbuildings.


Thanks to Merle Brown, the property now consists of 4 lots (plus the abandoned paper street in 2010).   And you can see that the house had lots of additions and outbuildings incorporated over the years, from the odd footprint that the home has.

Phillip and Narcissa Willard's didn't own the house for long and in 1944 it was sold to Seth and Louise Soule.  Seth was a World War I veteran and from the physical evidence we've found, seems to have done many of the updates we see today. 

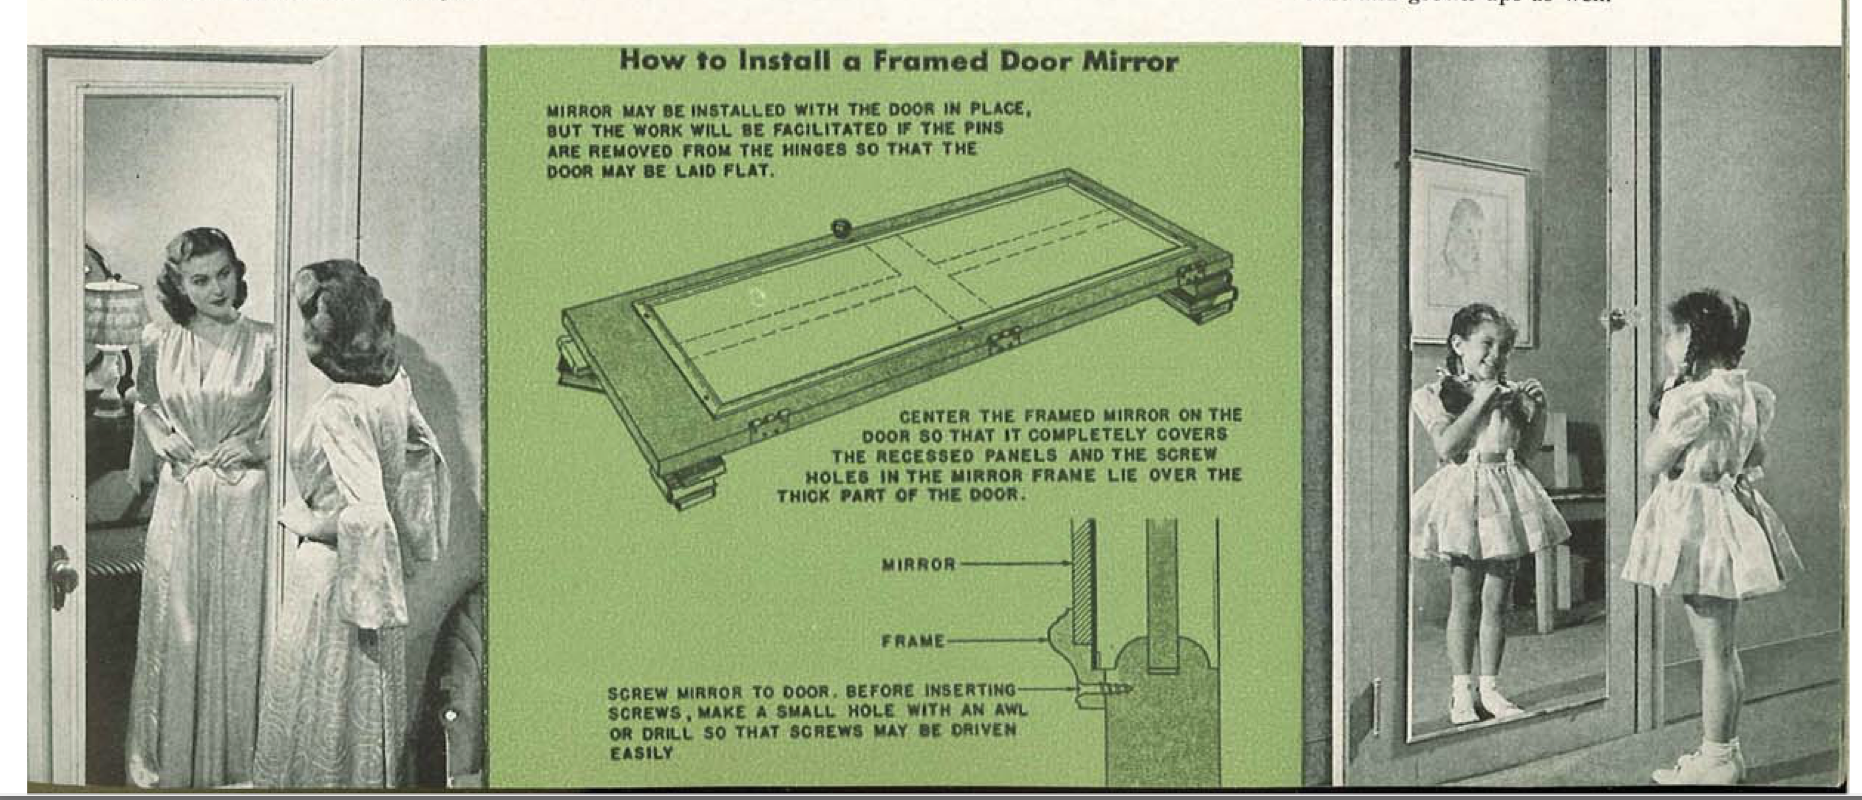
What changes did they make?  Well, we found a 1944 newspaper under some hardwood flooring on the first floor and a 1945 plate glass mirror stamp from the Pittsburgh Plate Glass Company (that's the PPG company that we all know today -read more here.  )  

Pittsburgh Plate Glass Company - 1945

The mirror was installed as instructed in this catalog from 1945.  Don't you love these photos???
One of the most exciting discoveries was finding the Soule name on some of the lumber that was used to enclose the side and back porches (called piazza's when they were originally built).  Back in the day, the lumber company would write the delivery destination's owner on the top of the lumber.  So this tells us the Soule's must have done extensive work, including adding the bedrooms above the former porches.

We think it was during their ownership that the house got its Colonial Revival updates with drywall replacing cottage beadboard and nickel and glass door handles were added to the antique 4 panel doors.  


They also made a huge change from a hip dormer on the front of the house to the long shed dormer that we see today. 

Pre-1920 house with hip dormer on front and 'piazza' porches on front/back/side  (Sorry for the quality, I'm not allowed to share it without the South Portland Historical Society logo)

1968 photo of house, courtesy of our thoughtful neighbor, with current shed dormer on front 

Two generations of Soule's lived in the house.  Karl and Barbara purchased the home from their parents and enjoyed many of the updates from the 1940's.

The Mooer's bought the house in 1985 and per city records, they built an addition on the dining room to connect it to the sun porch, as well as a deck off of the dining room. 

And that bring us up to date. So many owners and so many updates over the years.  It's this history that explains why we aren't tearing this house down and building a new one.  We want to preserve the story of its evolution, with all its architectural quirks and charm.  We love that the house has had so many owners, each of them adding their own stamp to the home.  Their history is intertwined with the house and the house is intertwined with a beautiful neighborhood of antique homes.  It's part of our community and we want to honor that and ensure it's here for many, many years to come.  

So stay tuned to see the changes we make to the house. We will add our own updates just like so many of the other owners did.  We're working hard to ensure changes are sympathetic to the original style and character of the house, but will include structural fixes, energy efficiency and safety repairs.  Because after all, we don't want to lose all this amazing history!  


Pin It

Wednesday, March 29, 2023

Creating Our Dream Kitchen - Defining The Space!

So last week's archaeology project was pretty depressing - but we're on a roller coaster here and this week was AMAZING!!!  It's hard to believe how much has changed in a couple of weeks.   

I've been dreaming about this kitchen since the first time we walked into the house.  Why?  Because there was open attic space above the existing kitchen and adjoining service porch.  That means a cathedral ceiling was a no brainer.  

Okay, so maybe it did require some brain power, because there was a lot of structural engineering required to achieve my vision - plus a lot of fancy engineered beams.  And of course our talented team had to tear it apart and put it back together again.  

How do you get giant beams in the house?  Through the window of course!

Here's the first peek of the ceiling getting opened up.

And the walls opening up


For those of you that are like me and need to see what's changing, here's the drawing that shows the walls we removed and how the ceilings are getting opened up.  
And was it worth all this trouble?  Well here's how much it's changed already.
See how the combination of the open ceiling and the doorway to the dining room makes it so spacious?


It's such a WOW when you walk in the door and see all that amazing space.  But we can't take a break - there is so much more to do.  Next up,  it's time to open up the back of the house!  Stay tuned! 


Pin It

Wednesday, March 22, 2023

Some Days All You Can Say Is 'Wow'......the Kitchen Archaeology Project

I might have declared victory on the demo phase of the project a bit too soon.  True, the guys have started putting in some new posts and beams, but there are still some issues that have reared their ugly head.  

Full disclosure, we knew that the floor under the asbestos tile was likely to have some challenges.  But the reality was far worse than we expected.  When the guys peeled back the subfloor, we discovered that it wasn't just the sill (the big timber that sits on top of the foundation that has all the studs nailed to it) that was rotted, but the floor joists were in truly terrible shape.

This section of sill looked fine from the top, but when we rolled it over we found this!

This is the mess we found with the subfloor removed.  Wood rot everywhere
It smelled like compost when we pulled back the subfloor - probably because it is!

The floor joists are 3"x10" - big, heavy joists.  Which is probably a good thing, because even though they were rotted, they still held the floor up with support from only one end.  We repeated our mantra yet again "How is this house still standing?"


In the main section of the kitchen, we found similar sill issues.  And of course the studs above it are seriously compromised, having been cut away to install vents or simply left to rot.   Again - "How is this house still standing?"


So the guys ripped everything out.  It felt like a bit of an archeological expedition, as we opened up the crawl space of a very old building.  What did we find?  Nothing!  Not a single skeleton, money or artifact!  Instead we just have this odd view of the kitchen - isn't it weird to see all of the foundation and dirt floor exposed?


Such a strange view of the kitchen!

What's next you ask?  How can we keep this from happening again in another 30 years?  This is where building science takes over (and for those of you that don't need this detail - please skip ahead!).  

The window wall is 'floating' over old foundation while the work is done

Step 1 - try and prevent water from getting up against the foundation in the first place.  We have taken several steps to keep water away from the foundation (gutters, grading, etc), but this side of the house is at the  bottom of a hill and we're big fans of belt-and-suspenders mitigation, so we wanted to do more.  

Step 2 - so we raised the wooden sill.  Instead of putting a sill back where the old one was, we installed a course of concrete block on top of the stone foundation, to raise the wood up 8 inches.  We will waterproof the block from the outside, to keep water from using the block as a sponge.


Step 3 - install a sill gasket to separate the wood sill from the new concrete (this prevents any moisture coming up through capillary action) and install a new sill of pressure treated wood.  Now the wood is isolated from moisture!


This membrane will wrap all the way to the bottom of the foundation
Step 4 - Air seal the foundation with a plastic membrane.  This is critical to make the house more energy efficient.  We don't want any cold coming from the outside, through cracks in the old mortar.  We had a roll of roofing membrane on hand, so used that to seal up all around the exterior of the foundation. 

Step 5 - Install a vapor barrier on the dirt floor.  It's really important to get up any organic material before you do this step (if you skip this step, it can rot and create an odor issue later).  And yes, I vacuumed all the sawdust off the dirt - as usual the guys thought I was crazy.  This prevents any moisture from coming up from the ground.  The edges of the vapor barrier are sealed to the air barrier with a can of spray foam, to hold it in place and ensure it stays air tight.


Step 6 - When we install insulation, we will have closed cell spray foam sprayed up on the foundation walls, sealing to both the sill and the vapor barrier on the floor.  This will give us the air sealing and insulation we need to make this house energy efficient.

In the meantime, the guys have put all new joists into place and installed a subfloor (with a trap door, so we can get in there to do spray foam insulation).  With all of this in place, we can start on the rest of the kitchen framing.  

And I don't want to give too much away - but this kitchen is going to be AWESOME!!!  Here's a sneak peek of today's progress!

Future cathedral ceiling!!


Pin It

Tuesday, March 14, 2023

Temporary Living - Second Floor

As promised, here is an overview of the 2nd floor of our temporary house. We have three bedrooms and a bath.  And it's all in fine shape, but has a serious lack of closet space which we had to address right away.  Isn't that a problem in every old house? 😂 


Two of the bedrooms are almost identical in size.  We've chosen the first one as our primary bedroom and after a quick coat of paint, we moved our furniture in. 

 It has a decent sized closet, so that was helpful, although it only held about half of my clothes.


The second bedroom had a bigger challenge.  The closet is about 18" wide - not big enough to hold anything (except we can push suitcases into the back of it, where the sloped ceiling is).  It had another closet made of plywood - but it just made the room feel long and narrow.  


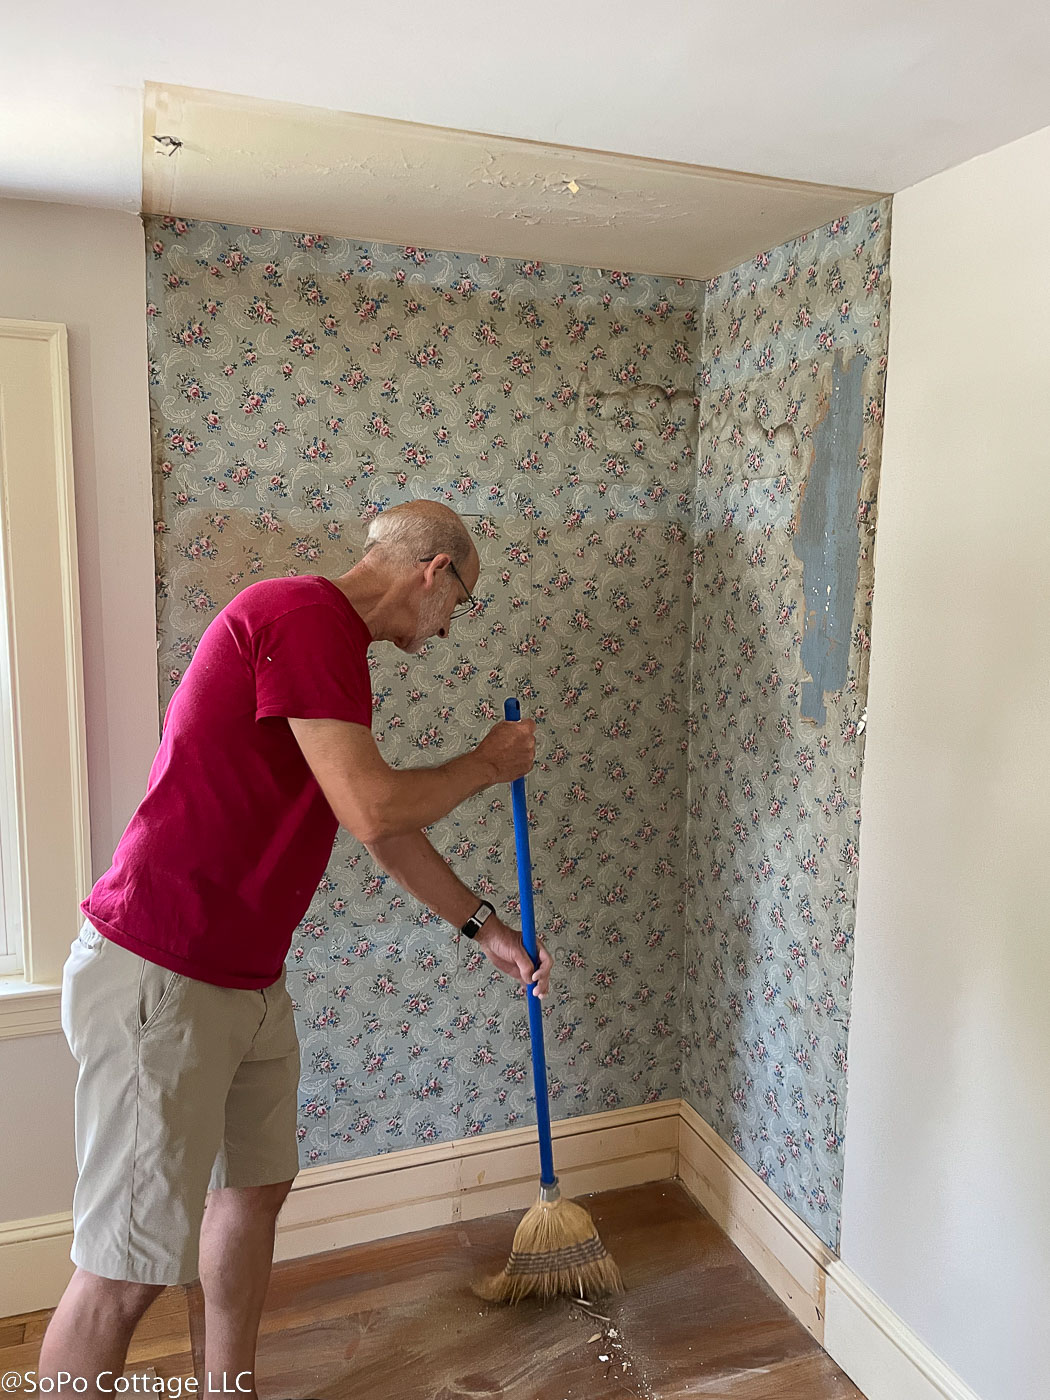
And it didn't have the drawers/shelves that I like to store clothes that can be folded.   So it had to go.  Thankfully once the wallpaper was removed, the baseboard was still in place and with a little paint it cleaned up nicely. 

A simple dresser and mirror makes the room feel MUCH bigger!


And for additional storage, we did our usual approach to increasing closet space - IKEA wardrobes.  With Pippa as my helper, we assembled them.
She likes to supervise!

They fit perfectly on either side of the radiator - and the mirrored sections are super helpful.  Now it's such a welcoming room with lots of storage space!


The back bedroom is a bit smaller, but it's perfect for my husband's office.  And for some odd reason, it has the biggest closet in the house!  Here is the starting point.

And this is once we moved all his stuff in.


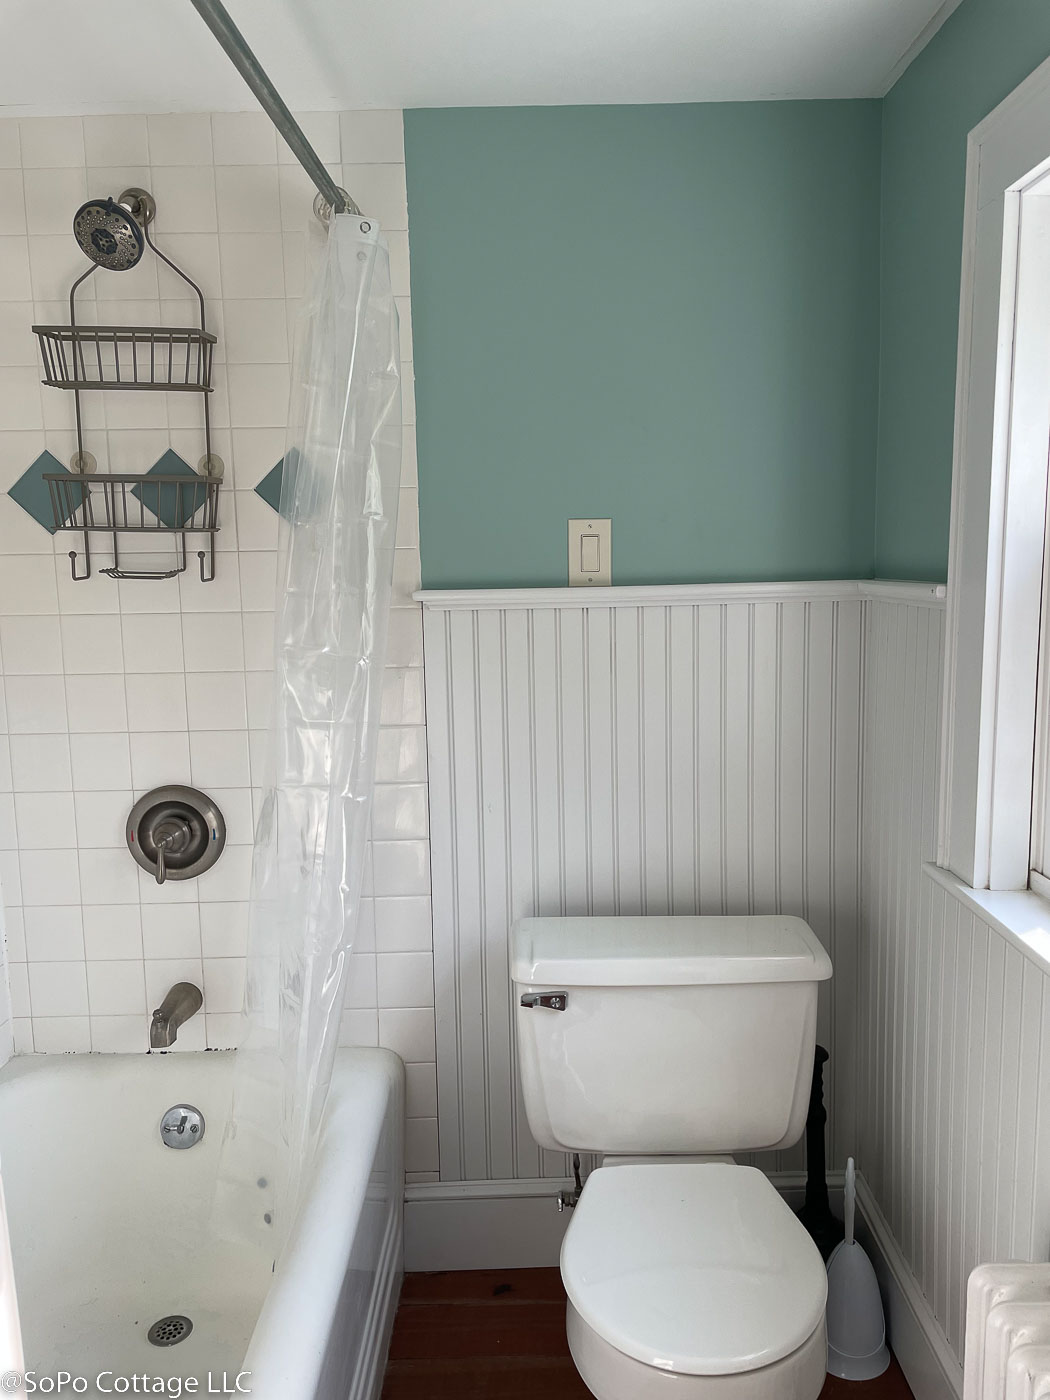
The bathroom is really tight.  When we renovate the house, it will get a major makeover.  But for now, we're just added a mirror and some storage and it works for us.  And don't you love the built-in cabinet?

Bathroom - Before

The hallway has another built in, that works as a great linen closet.  This house has so many charming built ins.  You just don't find that in new homes!  And that's a mini-split heat pump you see in the ceiling (between the ugly light fixtures).  It's been great to have heating and cooling with a heat pump.

That light fixture is worse than a boob light!!!

So that's the tour.  It's a great house to use for temporary living - and with a few decorative touches, it really feels like home to us!  Plus, it's a short walk to restaurants, bakeries and the beach.  Pretty sweet!  


Pin It
Related Posts Plugin for WordPress, Blogger...