Wednesday, May 31, 2023

The Temporary - Over the Top - Open Floor Plan

Notice the staircase to nowhere!!!
You may remember the post about the living room ceiling conundrum - click here.  We agonized over ripping out the fancy drywall ceiling to expose the original joists and beadboard and gain a tiny bit more ceiling height.  Ultimately we went for it, only to discover the joists looked like they'd been installed by someone that had never owned a tape measure.


Some were 12 inches apart, some were 20.  And since they'd never been nailed into the carrying beam, they had also twisted over time.  
Modern building code requires even joist spacing - typically 16" apart

While I knew the odd spacing would visually drive me crazy, I was also worried the weird spacing wouldn't provide the structural support we needed.  We're adding a bedroom and bathroom over that space, which is a lot of added floor load. So after checking with our structural expert, we found that 4x6 hemlock beams would fix visual and structural concerns.  We had to have them special ordered, which meant a 6 week lead time (this is why it's so hard to have a clear schedule!).  At last they arrived and we could install the new beams.

But it was a big job.  The guys had to take out the existing beams and subfloor, which created this weird open hole in the middle of the house.  It was like a dollhouse with part of the house cut away.  


I like an open floor plan, but this is ridiculous!!!

But with the old structure gone, the guys could quickly install the new custom joists and a robust subfloor above.  Farewell squeaky floors 

To finish the ceiling, we will install beadboard between each beam and then the whole ceiling will be painted white.  It will still be a low ceiling by modern standards, but the added visual height between the beams will give it the illusion of taller ceilings.  It will look so good!  Although I will miss that giant open floor plan 😀

Pin It

Wednesday, May 24, 2023

More Than a Facelift - The Front Stair Project

We love the front entrance to our house.  The pediment and columns are one of the few decorative features on the front.  And while we liked the stone stairs, we immediately noticed they had lots of cracks in the mortar.  Our fingers were crossed that it would just be a repointing job. 

No such luck (seriously, we haven't had luck on our side on this project!!).  Evidently the steps had been repaired over the years and fixing them was no simple matter.  There were lots of suggestions on how to fix them, but we really wanted to keep the original stone and old house look.


Thankfully Chase from CPC Masonry has experience with restoring old steps and wanted to retain that old world charm.  He carefully measured the original staircase and took photos so it could be put together just the way it was.

And it was a big job.  He needed to dig back to where the stairs were still completely solid.  As he pulled them apart we discovered the stairs, which had been exposed to the elements for many decades, were in bad shape.

Yeah, it was a mess.....

Thankfully, the very top and sides were still pretty solid.  

Freeze and thaw cycles over the years had degraded the top layers

He carefully started the reassembly process, making sure it matched the original.  It was a big job! 


One of our favorite features of the stairs were the stone posts which hold up the columns to the porch roof.   Chase did a fabulous job recreating them to the exact dimensions of the original posts.

And the finished product looks amazing! This is probably how the steps looked when they were new. Aren't they great?  Now the pressure is on me to get the old wood columns cleaned up and ready to be reinstalled.  I can't wait to see how it looks with everything back in place! 


They look like new!!

Pin It

Wednesday, May 17, 2023

Recreating the Gardens

A few of our long time neighbors told us they remember when our property had beautiful gardens.  They remember being able to peek into the yard and see lots of flowers, shrubs and a pergola.  Today there are a few bushes and perennials in the yard, but not much else.  

I'd like to change that.  I just finished attending the Garden Design program through the Maine Coastal Botanical Gardens.  It was 4 in-person classes and 4 zoom classes, starting in the cold early spring months when we couldn't do any real gardening anyway (BTW - the program was outstanding!!  If you're interested in a garden design program, this one is great!).


We started with the basics - how to create a base plan of your current property with overlays that include information like views, elevation changes, etc.  It didn't take me long to realize that creating the entire design at this point in our project was probably premature.  We've never lived in the house and don't truly know how we will use the space.  Plus the house is under construction till fall and there will be a lot of disruption until it's done.  So I decided to focus my plan on the side and backyard - where it won't constantly get beat up with construction debris. 
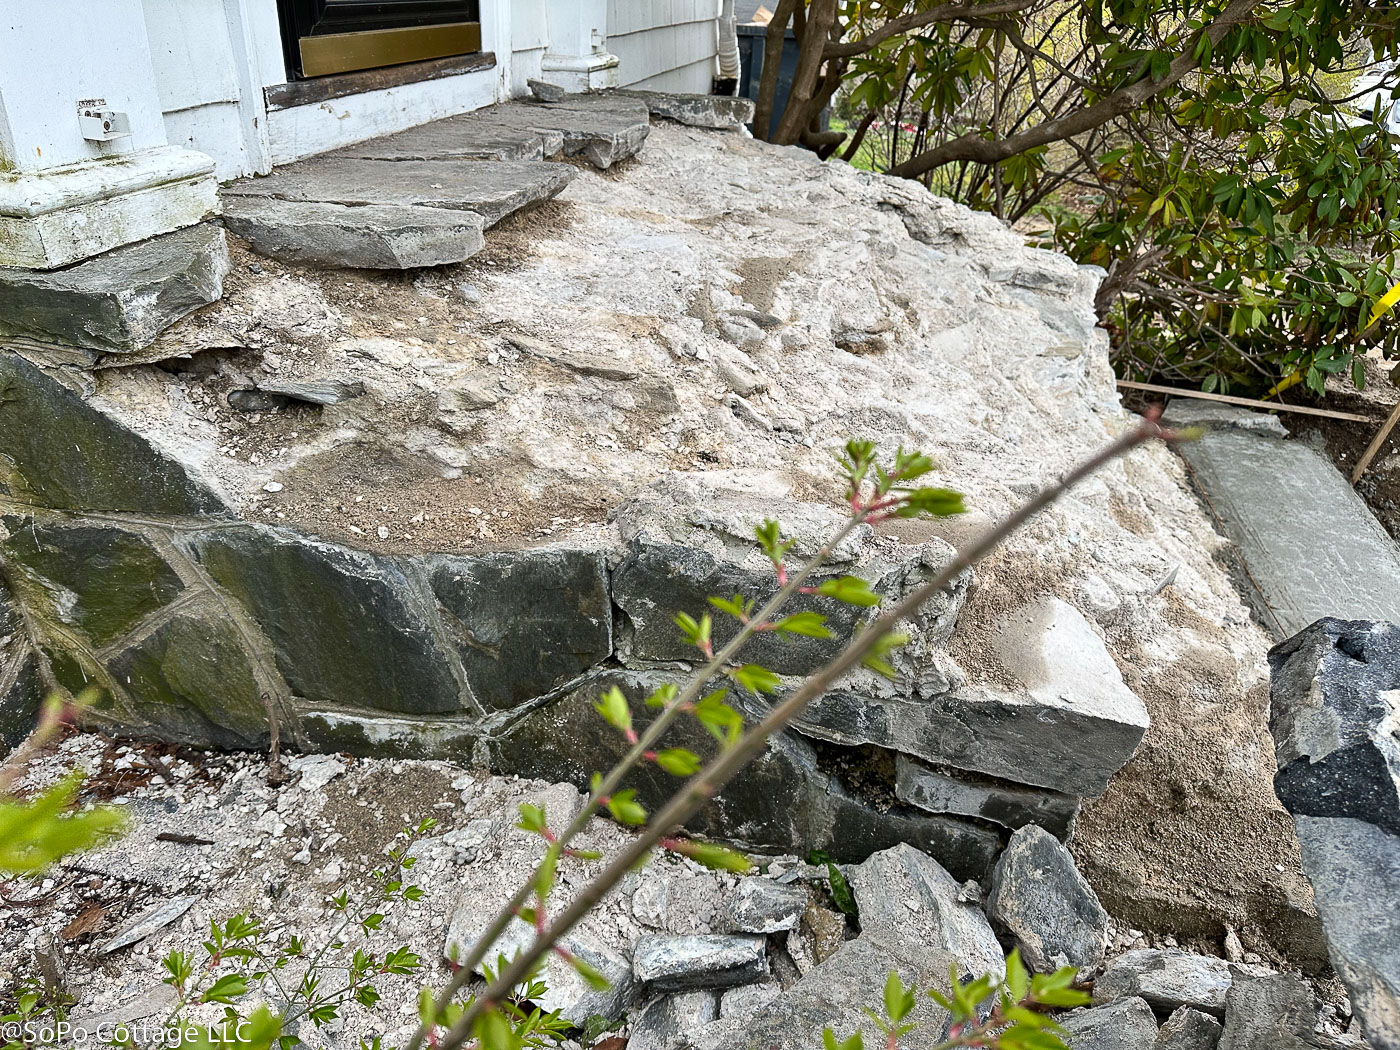
Ignore that dumpster!  This is our starting point.  It's a blank slate!

What kind of garden do I like?  Ideally, I'd like a traditional British garden, with lots of manicured hedges, formal perennial beds and a big mix of annuals to add summer color.  But I also know that takes far more time and energy than I could ever devote to it.  So I need something simpler.

For inspiration, I was excited by a story in a recent issue of Decor Maine that focused on landscapes - click here for the article.  Their garden plan had a wonderful variety of shrubs and perennials surrounding the house, that would take far less maintenance than a formal English garden.
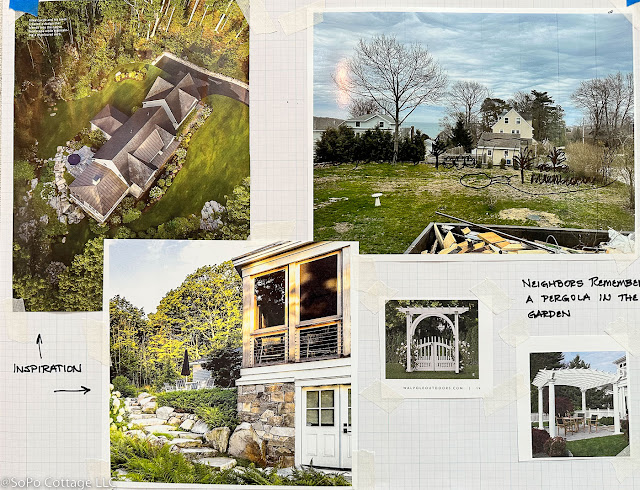
Inspiration Photos influenced the overall design


One of our first assignments was to create a purpose for the garden.  This was a lot harder than it seems.  My purpose sounds a bit grandiose, but this is what I came up with:  Restore the yard to its past grandeur by creating a scenic landscape that embodies a Maine coastal garden.   

But taking an inspiration photo and a purpose and turning it into a plan for our property took lots of trial and error.  After creating the base plan of our current condition, I had a few must haves:
- Keep view of water from our deck and also for neighbors walking by (the best lighthouse view is from the middle of the street)
- Minimize the need for walls to traverse the slope.  Use paths and plantings.
- Eliminate the evidence of a former paper street on the property
- Incorporate native plants, to encourage pollinators and birds to visit the garden

My big 'ah-ha' moment came during a group discussion.  I wanted to be able to sit on our deck and see the garden around us.  But our instructor Cheryl quickly pointed out that no one would ever want to go into a garden like that.  If you can see everything from a distance, there's no reason to go walk through the garden.  So creating paths and corners will create mystery and interest, drawing people into the garden.  Game changer!!!  So I erased a lot of my previous plan and started again.

Ultimately, this is what I came up with.  The garden now has a few twists and turns that create a 'secret garden' area, where the slope changes in the yard.

 
I figure this is a 5 year garden plan, but I couldn't resist getting started.  So I had some top soil delivered, got my hose out to start creating the shapes from the plan and spray painted the borders. 

A garden hose and a can of marking paint is the perfect way to lay out garden beds!
I've started planting a few things, but will be adding more over time.  This crabapple was the first thing to get planted.  It's just starting to bloom and I can't wait to see that pop of pink when I look out the window.

Come for a visit in about 5 years - I might be done by then!!! 😂


Pin It

Wednesday, May 10, 2023

To Keep or Not to Keep - That is the Question

On one side of the attic, we found this big antique dresser.  It must have been up there a LONG time, because it was too big to fit down the attic stairway.  Our guess is it got moved up there when major renovations were being done to the house.  


While we had everything opened up, we moved it downstairs and realized for the first time that it's massive.  It's 48" wide by 28" deep and 56" tall.  

The drawers and top seem to be mahogany with nice, turned knobs (although they're a bit scuffed up, I've contacted someone who can replicate the missing ones for me).  It must have been built in, because the side are just rough sawn lumber.  


The top is made of two boards, one of them is 18 1/2" wide, which again makes us think it's an old piece.    The drawers all have metal rollers on them, which someone told me was probably added much later.  And unfortunately they don't seem to work well, the drawers are a challenge to open and close.


Each drawer has beautiful dove tailed joinery.


We really would like to use it again, but we can't figure out where.  It really is huge and seems to dwarf any room we sit it in.  My guess is it was built in under the eaves next to an earlier dormer that was on the house.  But now it's too wide to fit in that spot.

So that's the challenge.  Do we keep it?  We feel like we should. But if so, where will it fit?  Decisions, decisions!!! 

Pin It

Monday, May 1, 2023

Antiques Roadshow - Portland Landmarks Style

When we found a pair of these chairs in the attic, I guessed they were probably really old.  But how old?  And were they worth anything?  I had no idea!


But then I remembered Portland Landmarks was holding their Old House Emporium and would be hosting antique appraisals.  It was the perfect opportunity to learn more about these chairs!


We met Christopher Considine, from Foreside Antiques in Falmouth.  He looked the chair over and quickly determined it was made around 1830 (almost 200 years old!).  How could he tell?


First clue was a manufacturing flaw on the back of the chair.  This circular saw mark was a defect when the slat was being cut.  The circular saw was a huge technological improvement  that had recently been introduced across the country. It suddenly made mass production a reality. 

Circular saw mark was a manufacturing defect, which provided a clue to the chair's age


Windsor chair

Next was the style.  Previous to this, the Windsor chair was the typical chair that American homeowners wanted in their home.  But these chairs took a talented furniture maker a long time to make and that meant they were also expensive.  

That's why the introduction of the circular saw was so important.  Suddenly furniture parts could be mass produced.  Legs, backs, and slats could be made in batches and tossed in a barrel to wait for assembly.  Lamberth Hitchcock came up with the clever idea of creating interchangeable chair parts that allowed a chair to be assembled quickly, with very little skill.  These Hitchcock 'fancy chairs' became immensely popular and were assembled and painted around the country.  

The decorative stencil was typically done by sign painters when they had free time.  They could visit a shop, paint all of them in a day, and be on their way.   Our chair has typical fruit and vine motifs - pumpkin, grapes and twirling vines.

Our Hitchcock style chair has the trademark stenciling on the back

Ours also has 'coachwork' which is gold embellishments that originated on horse drawn coaches - but also worked on chair legs! 

The cane seat had fallen apart many years ago and been replaced with a black one.  


Christopher's expert opinion was that the chair was Maine made - probably of maple and birch.  

Oh, and how much is it worth?  In today's market - $1! 😂😂😂


Pin It
Related Posts Plugin for WordPress, Blogger...