Wednesday, February 23, 2022

Taking Shape - The Top Floor and the Roof Get Built!

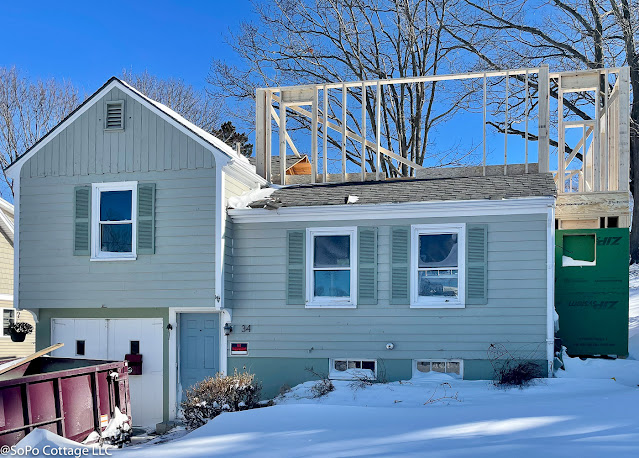
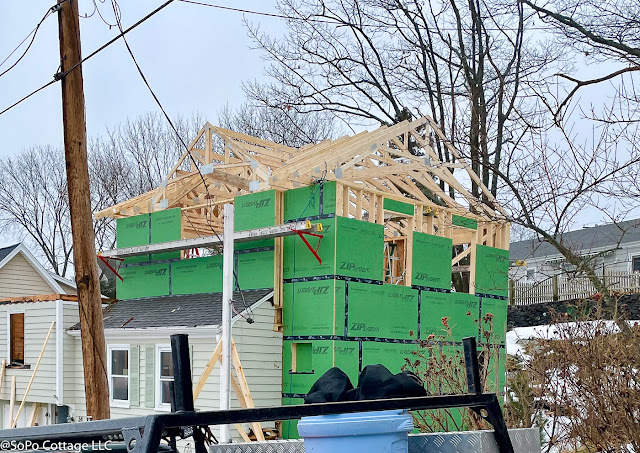
In two weeks - with two weather delays - we got the top floor completed and the roof on!  That's a huge milestone that will help us keep the building dry and weather resistant.  Hooray!

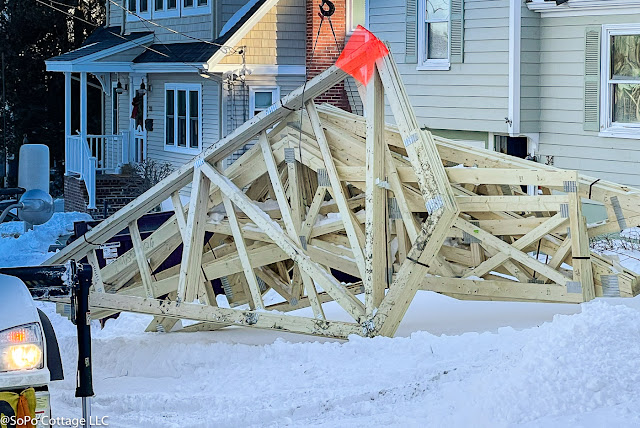
It was a big job.  We're using a custom fabricated truss system to provide tall, cathedral ceilings on the upper floors (they make any space seem so much bigger!).  However, it makes the roof a bit more complicated to install. But the finished product will be so great for the homeowners.

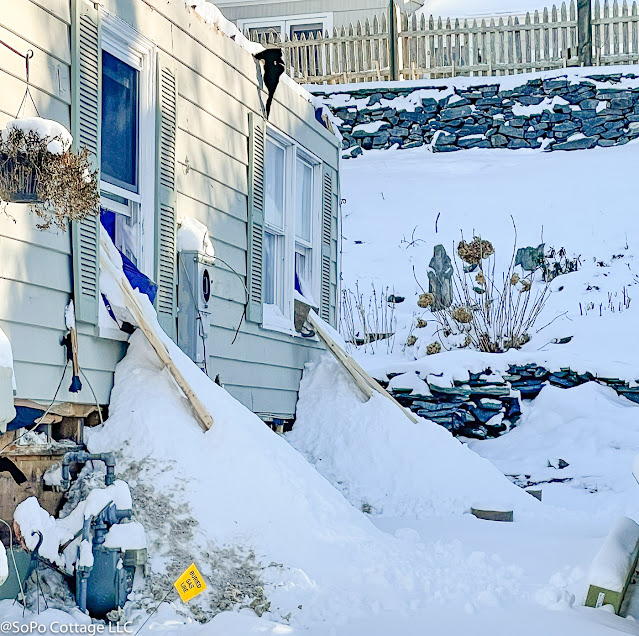
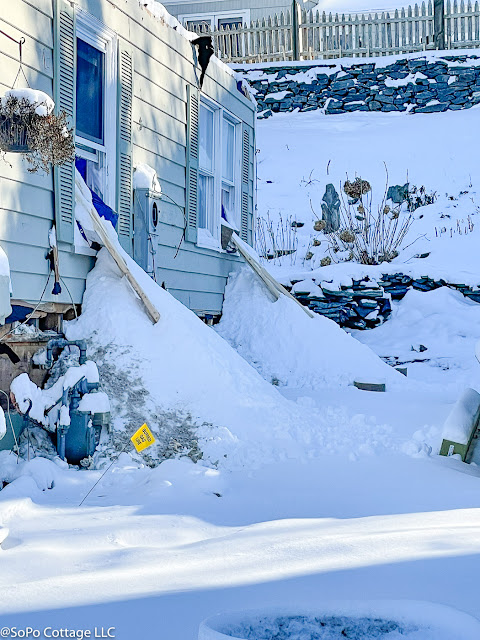
The trusses arrived right after the blizzard.  I know it looks like a jumble of lumber, but each piece is numbered and it creates a giant jigsaw puzzle that the guys will assemble into a fabulous roof.

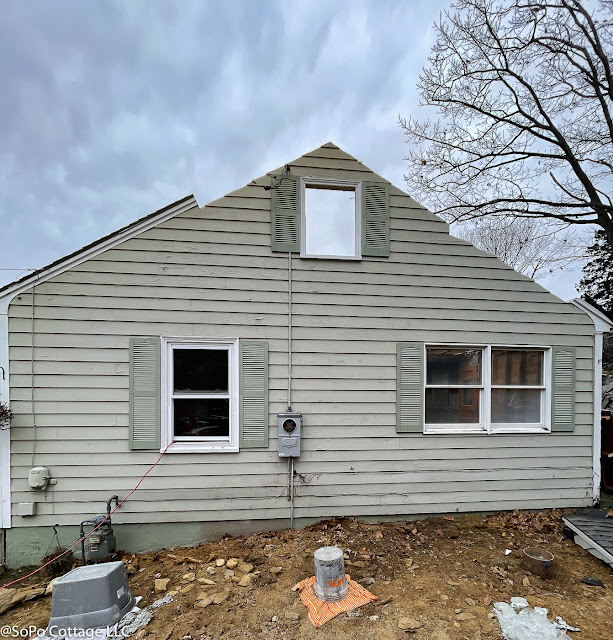
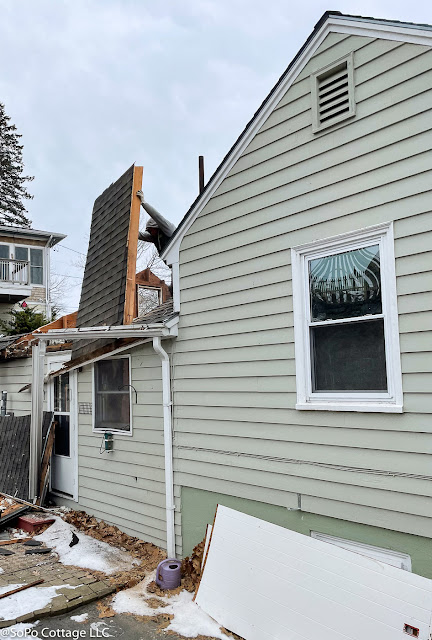
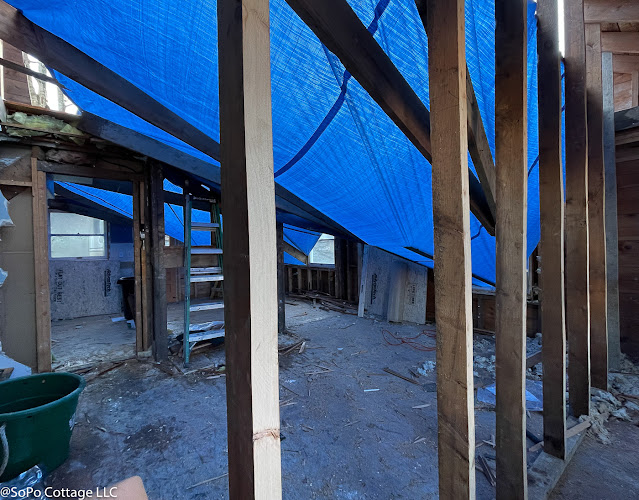
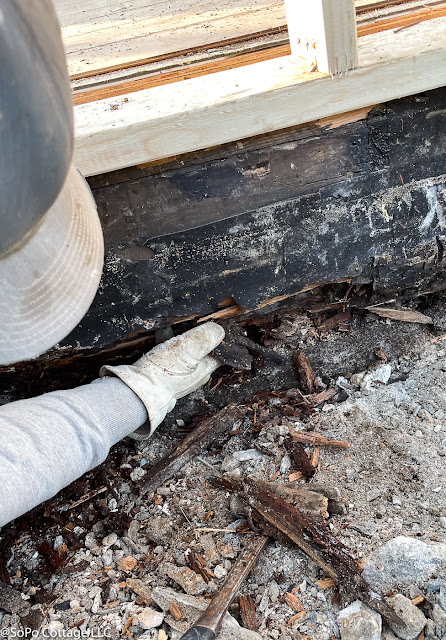
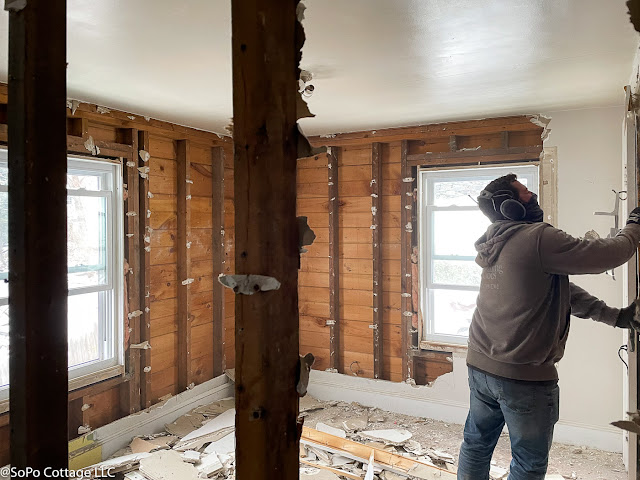
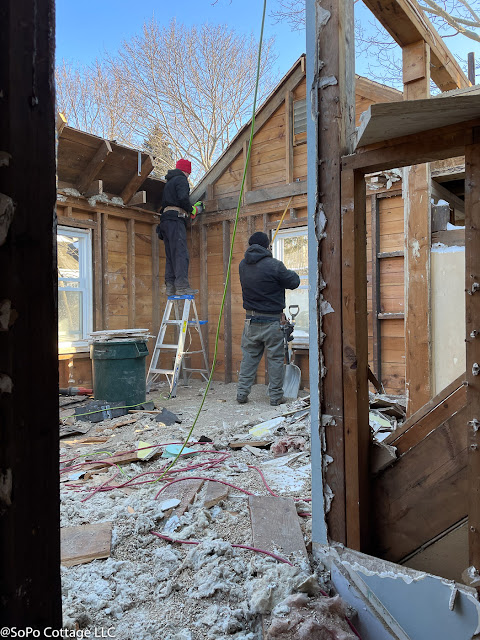
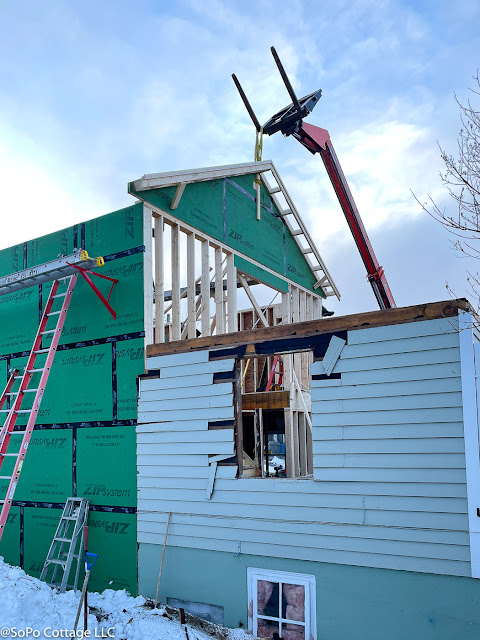
But before we could start installing the roof, we needed to get the old one out of the way.  Originally, we had hoped to keep the left side of the roof as is, but as we looked at the potential for ice dams and water problems with the original front and back gable, we decided it had to get updated to divert water away from the house.  So we will match the original front gable to stay within building code, but will eliminate the back one and change the roof pitch to encourage water away from the building.  Farewell old roof!


And of course the day after we got that roof off - we got another storm.  Time to shovel out the house.... again.... 


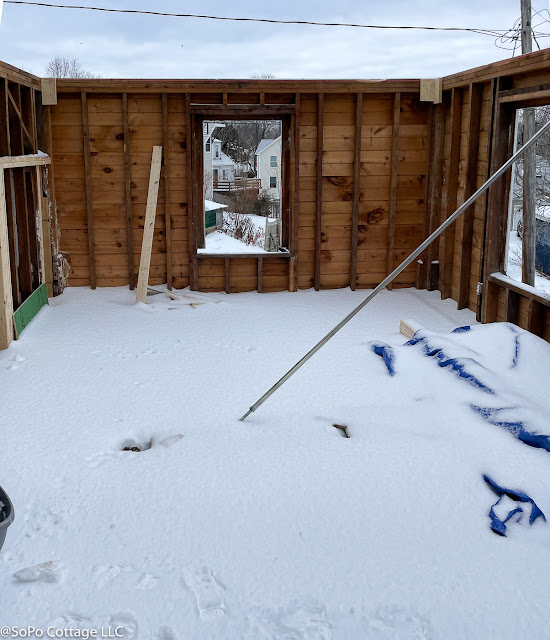
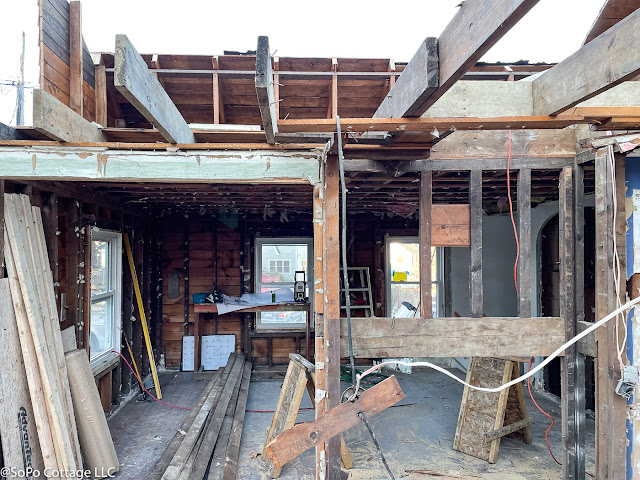
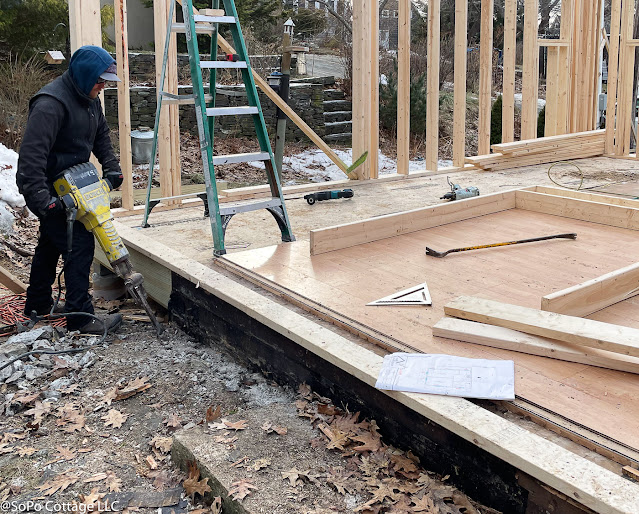
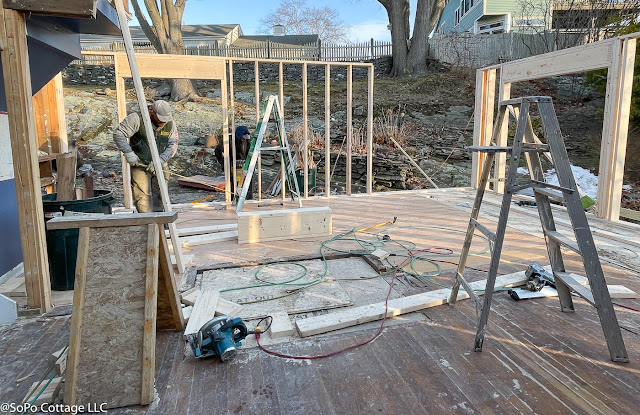
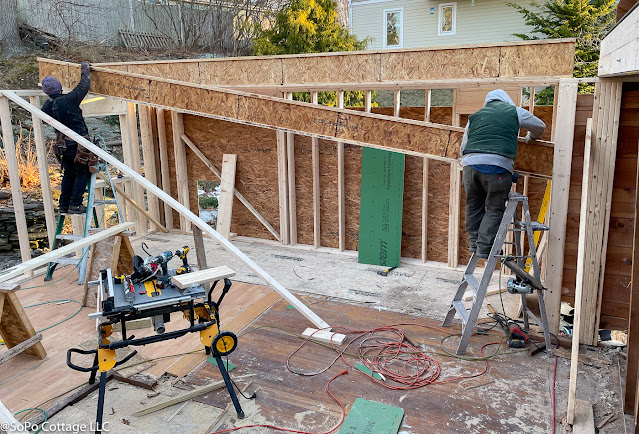
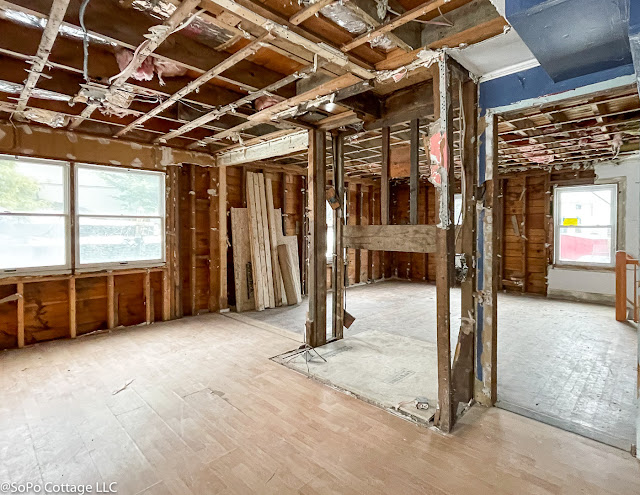
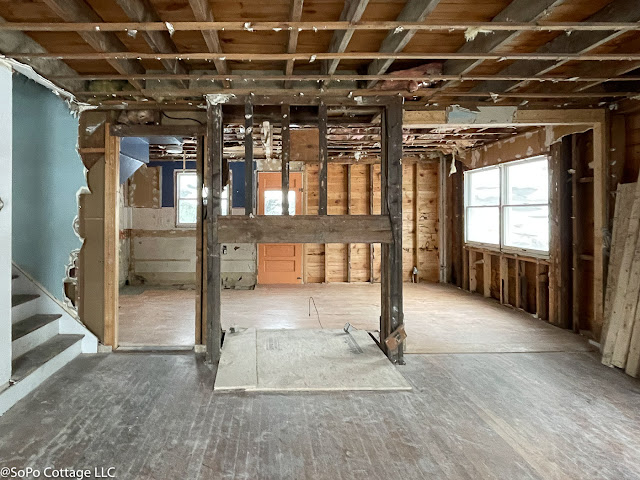
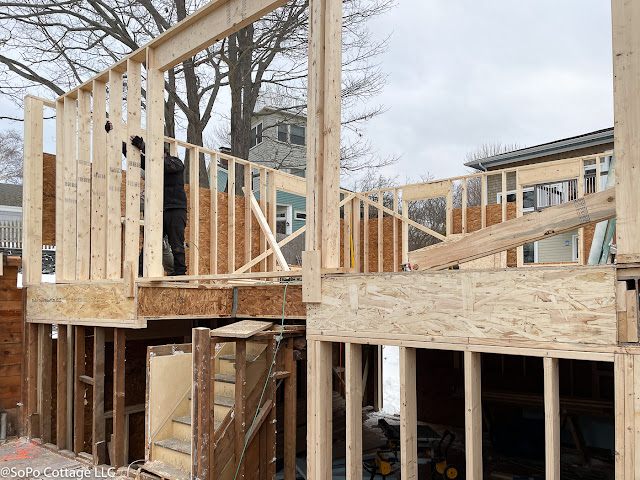
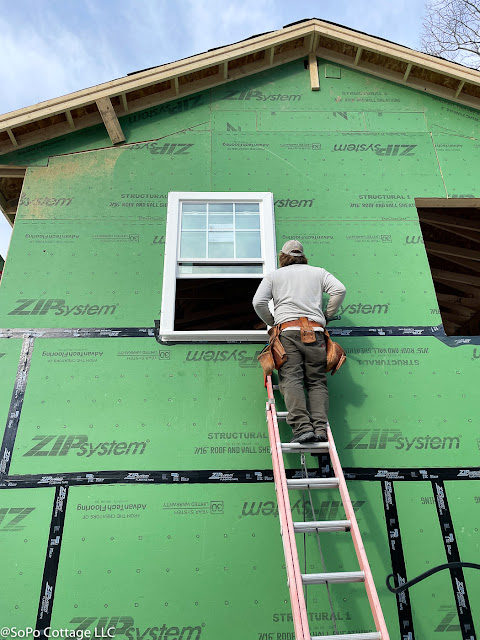
With that roof off, we were able to finish framing the new upper floor, which will have two bedrooms, a bath and the laundry room.  A split level is so interesting to frame - it's been hard to visualize how the different levels come together.  Nice to see it become reality!  But don't those stairs look odd??  Of course they will have to get rebuilt. 

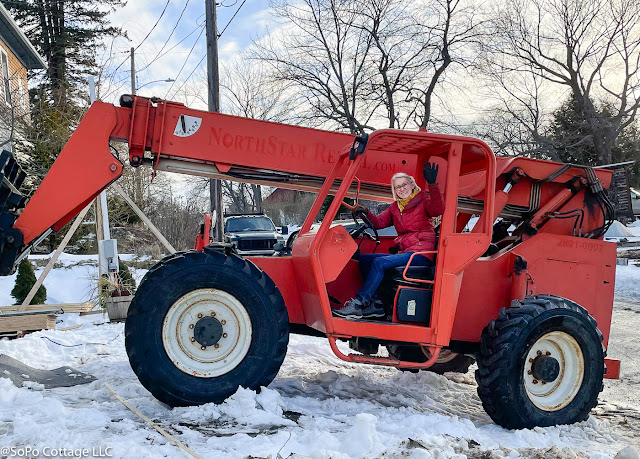
We're using a lull lift to get all the trusses up on the roof.  It's huge and similar to a giant forklift that will allow us to move the 22 foot long trusses.  And no, they didn't let me drive it πŸ˜‚.  I was in awe of how quickly they lifted everything on this sloping job site.

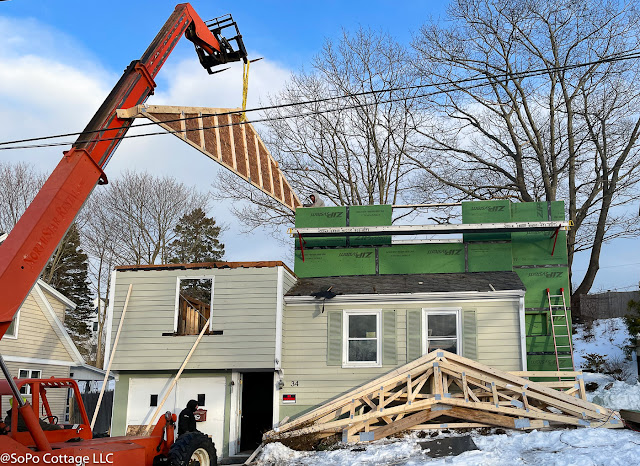
The gable end trusses got built out on the ground and lifted into place.  They made it look so easy, but my anxiety level was through the roof watching it come together!


With the first gable end installed, the main body of the house started taking shape.  It's really starting to look like a house! 


Next they started on the primary bedroom suite, to get the whole house under roof.  Thanks to the truss system, we'll have a cathedral ceiling in the bedroom as well as in the stairwell - a pretty fancy feature for the split level!


Next steps include getting the roof shingles on and the windows installed.  Then it should really look like something!  


Pin It

Wednesday, February 16, 2022

Rebuilding in Winter

This is a big project and we have a lot of work to do.  And it's not going to be easy.  It's winter in Maine with super cold temperatures, snow storms and nor'easters.  And there is a global pandemic that is creating challenges every step of the way.  

Who needs a roof in Maine in the winter?? πŸ˜‚

Case in point, first step was to tear off the roof, to get ready to widen the living room and increase the ceiling height.

The house just looks so odd with the top of it torn away!


Usually, we like taking a roof off in winter, it's far easier to shovel a little snow out than bail out water.  But this year we're getting major storms with some frequency.  The snow isn't a big deal, but 60 mile an hour winds or 3 inches of sleet are a challenge.  We've created our own 'tarp town' to try and keep the weather out.  

Tarp town!!!

The good news about snow is you can just push it out!  
Tarp Town Drifts!!!
With a few days of clear weather, the first big step is to install a huge steel beam that will support the new ceiling joists.  It's 20 feet long and weighs about 800 pounds - so it's a tricky installation.  Thankfully Hammond Lumber was able to lift it up for us.  

The guys had everything ready and it slid right into place!
Next up, the bump out needed to be built.  I know 5 feet doesn't seem like much of an expansion, but it will make an amazing difference in this living space!

But then we ran into a problem.  Remember we were surprised we didn't find more issues during the initial demo.  Well that caught up with us!!!  As we started working on the back wall, we discovered lots of rot in the sill - you know, the part of the house that everything sits on!
You shouldn't be able to stick you hand in there! Look how far the rot goes into the sill

All those years of water running down the hill towards the house had done some major damage to the back of the house.  The guys had to jackhammer out the old concrete stoop and replace all the rotting wood.

That meant the back wall had to come down and get rebuilt once the repair was done.

But then the main living area really started to take shape!  The old ceiling was so low - this new 8 foot ceiling height will seem so spacious in comparison!  The new I joists connect to the giant steel beam and the back wall and create the 8 foot ceiling height.
Once the main living space was completed, we could start the new bedroom level.  The guys got the walls in place, but then we got another major storm.  So we had to leave the 'bones' of the walls in place without any sheathing.  We didn't want the 60 mph winds to blow the walls over!!!
New addition walls up - waiting for the storm before adding sheathing

And that describes this project to a T.  We make a bit of progress and then we get a big weather delay.  Or someone gets exposed to COVID (or their kids do and they can't go to daycare) and we wait that out too.  So we do what we can, but it feels like we are off to a slow start.  We just need to practice patience!

Next week we have a framing crew coming to lend a hand with the roof truss system.  Stay tuned, things should pick up speed!  


Pin It

Wednesday, February 9, 2022

Starting from the Bottom Up - the Basement Gets a Major Upgrade Part 2: Waterproofing


I'll bet you thought we were done with the basement - but there's still so much more to do!  

With the asbestos remediation and the giant fireplace removed, it was time to tackle the ongoing wet basement issue.  As we previously discussed, the house (and basement) is at the bottom of a 20 foot high wall of ledge (granite rock).  That means there is always some water flowing down there.  The original builders tried to accommodate that by installing a narrow crevice cut around the perimeter -  it contained gravel so the water could be channeled away.  And that probably worked for awhile, but over the decades, that gets filled with silt and no longer works - see the water coming in from the side walls?  We needed to fix that with a comprehensive waterproofing system.
This basement is always wet


But before we could get started, we had to get the basement emptied.  That meant the giant anchor of a boiler had to leave. 

And it was a huge task.  The boiler had to be cut into sections so the guys could cart it off.  Some days, sparks really do fly!!!


The scrap guys took all the metal we had - including the kitchen sink! πŸ˜‚

Everything - including the Kitchen Sink!

With everything out of the way, Dave from Concrete Prescriptions could get started.  First step was to break up the existing concrete floor.  Why?  A typical waterproofing job only breaks up the perimeter of the floor.  But for this job, the owner wants to use the basement for exercise equipment and needs a clear open space for that.  One side of the basement has a ceiling height of 81" - the other is 87".  Yup, there is a 6" difference from one side of the room to the other.  You can't miss the sloping floor as you walk through the room!  And how could exercise equipment ever work right with that kind of slope?? (but wait, if your exercise bike was facing the downward slope, would it be easier???πŸ˜‚)


And curiously, the side that was lower had a much thicker concrete floor.  The other side of the room was only an inch or two thick! 

Super thick 8" concrete at the high end of the basement

Next, he created a trench around the perimeter and filled it with plastic drainage pipe (There was so much residual water in the basement, as soon as he got the trench dug, it started to fill with water). The pipe gets wrapped in permeable fabric, so it can never fill with silt.  Once in place, it gets surrounded by gravel. The pipe slopes towards a new sump pit, and the new sump pump will pump all the water out.  

There was so much ground water, the freshly dug footing holes filled with water!

This trench goes around the entire perimeter of the basement
The side walls get a plastic embossed fabric that will channel any water that comes in through the walls down to the new plastic pipe.  The rest of the basement floor got a thick layer of gravel to provide a solid base for the new concrete floor.  It was covered with a heavy duty layer of plastic, providing a vapor barrier to keep water from rising through the concrete. 


The big day was when the concrete truck showed up to pour the new floor (through the basement window).  What a job on a cold winter day - but a huge milestone.
And the result?  Now this basement is ready for whatever Mother Nature throws its way! (and with this winter, that's a lot!! πŸ˜‚)


The basement feels like a whole new space!  Level floor, no water and no asbestos.  A great way to start a major renovation!

Pin It

Thursday, February 3, 2022

Demo Days at the Split Level


Everyone loves a good demo day!!  We ended up with demo weeks, thanks to some interesting twists and turns.  

Vermiculite - grainy mineral used for insulation
It started easily enough, tearing out some walls and filling dumpsters.  But when I stopped by to check on progress, I found a nasty surprise.  Vermiculite.  Ugh!  A potential asbestos problem is not what we need, especially since the asbestos remediation team finished up in the basement last week!

What is vermiculite? It's a grainy mineral that was typically poured into walls.  We find it occasionally and the bad news is 70% of the vermiculite sold in the US was mined in Libby, Montana - and the mine contained a couple of deposits of asbestos.  Now back in the day, nobody thought mixing a little asbestos in with vermiculite would be a problem, so they mixed it all together.  Of course now we know better.  So we had to stop work while we looked into it.

This vermiculite was in the ceiling - between two layers of fiberglass.  We learned that to have it properly remediated would be $5,000-6,000.  Yikes - a nasty budget hit!!!  So we decided to put everything on hold while we had the vermiculite tested.  Was ours from the mine with the asbestos?  We wanted to find out. 

And for once we got good news - we didn't need to remediate, the vermiculite that we have could just be disposed of in a conventional way.  Hooray!!!

Demo is messy!! 

So the gang from Anything Goes got back to work, ripping out lots of walls (oh, and thanks to Magnolia Landscapes assisting Anything Goes, we had 3 women on this demo crew - that's a first!!).  


But of course the biggest job was removing the giant chimney and fireplace.  I know some of you loved that fireplace, but it blocks our open floor plan and bedrooms on the top floor.  It had to go!  See how open the space is at the top of the stairs now?
Fireplace removal in the living room/kitchen

It was a big task and took over a day with a focused crew.  But what a difference!  Now all 3 floors feel so much bigger and more open!  We took it out from the roof all the way to the basement!

With demo complete, I'm sure you're curious about what other surprises we found.  There were a couple, as usual!  

First, there was no insulation in the walls.  Nada, zip, zilch.  This always surprises me in Maine.  You would think sometime in the 70's or 80's, when oil prices skyrocketed, someone would have had insulation blown in.  But in this house, that wasn't the case.

Second, we had some serious water damage in a couple of places.  It's crazy how much water can damage wood.  This window sill is completely destroyed and we will need to eliminate this window completely.  It's too low to the ground and every time it rains (or gets snow build up), the wood gets soaked again. 


This used to be a window sill...... now it's spongy! 
And there was obviously a bathtub leak, that will need the sill and a couple of joists repaired to fix the damage.


But all in all, this wasn't so bad. In fact, we're pretty surprised how few issues we found - it almost feels like there's another shoe that's going to drop with another surprise.....  Am I overthinking this?


For now, we're just going to stand back and admire how great it looks - even at this stage in the project.  Doesn't the living area look bigger??!!!  


Pin It
Related Posts Plugin for WordPress, Blogger...