Wednesday, September 29, 2021

That Moment - When It Starts to Look Like a Home

The original plan was to have this house finished and on the market in July πŸ˜‚πŸ˜‚πŸ˜‚. Obviously that didn't take COVID delays into account.  But despite all the hiccups, it feels like we're turning the corner and making nice progress.  Hooray!


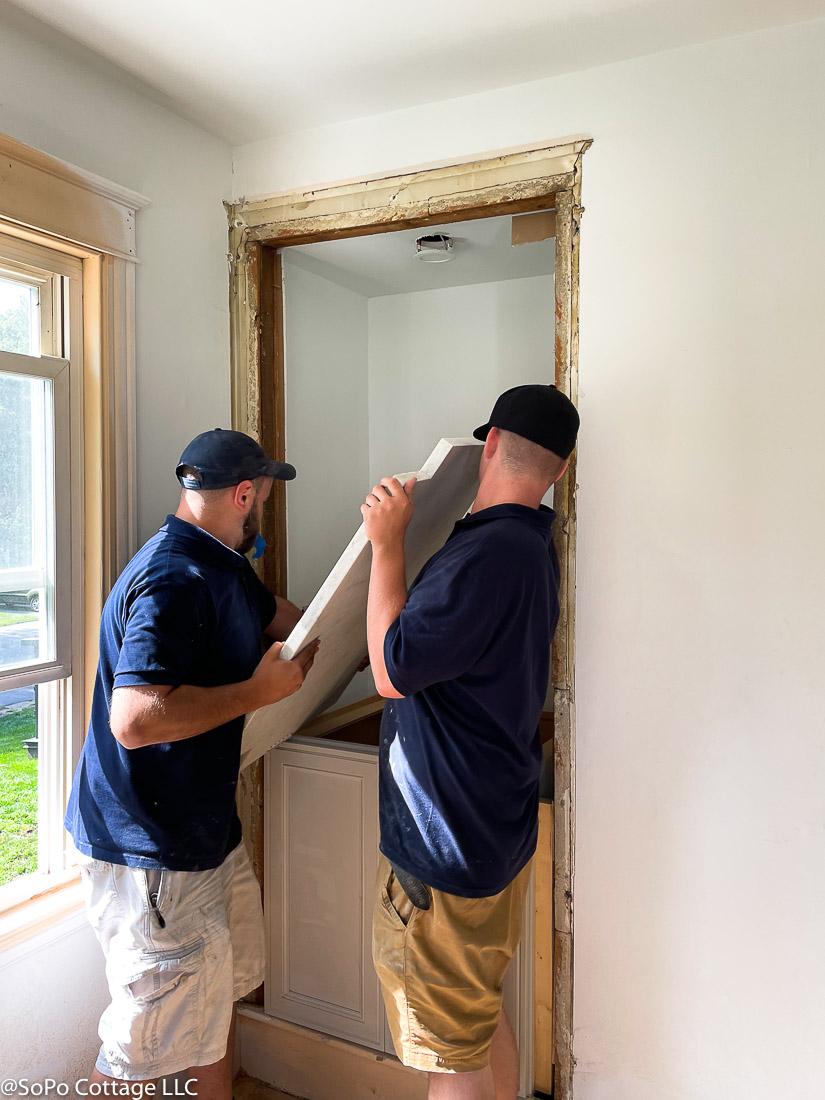
Chaos?  Nope!  This is progress!
It was a big week - 'the moment' finally happened.  You see, on every house, there's a moment of absolute chaos when everything is happening at once and things are a total mess - when I get a glimpse of what the house will look like when it's done and I say wow, this place is going to be great!  That happened this week and it's wonderful to see it all come together.

So here are some quick updates.  The kitchen is almost done.  The quartz countertops are amazing - a beautiful marble look, without all the marble upkeep.


  I tiled the backsplash with an antique style tile, complete with crackle finish.  I just love this Walker Zanger Tilt mosaic - it's a soft look that pulls all the neutrals in the kitchen together.  The appliances have arrived and the dishwasher panel will be installed soon.

I LOVE the faucet!  But there are some challenges we are working through.  After Jeff got it installed we discovered it leaks in 3 different places.  Yikes!  Wayfair is trying to replace it, but while they initially promised a week's turn around, now they're saying November 1st!  This is why it's so hard to get anything finished, lead times are so hard to deal with.  We will get it fixed, but it's going to take a bit of time.


Wainscoting - after installation
And the dining room?  Well, the wainscoting looks fabulous now that it's painted.  What a great accent for the room.  The painters did their usual amazing job and the house looks like we're getting close to done!


But let's not forget the living room.  The white walls with the pale taupe trim is looking good!  And how about that fireplace???

It finally feels like the finish line is in sight.   More photos coming soon!


Pin It

Wednesday, September 22, 2021

It's All About the Details - Changes at the Not So Basic Bungalow

When we started this project, we wanted to take a basic, nondescript bungalow and make it amazing.  That means celebrating the 95 year old history of the home by highlighting the original details - as well as incorporating some vintage style elements.  It's one of the things that we think sets us apart from your run of the mill 'flip' and gives our homes so much character.  This level of detail is what I truly love!!! 

Original details include all the gorgeous molding and original doors.  But we wanted to add a few details as well, to make this basic bungalow a bit less basic!

First detail - the fireplace mantle.  I shared the story about finding pieces of it at Old House Parts Co and then getting new pieces carved to match a few months ago (click here to read) Sten from Oak & Laurel Workshop did the carving and gave me lots of instruction to get it stained and sealed. And after a little trial and error, I was pretty pleased with how all the old and new pieces coordinated.


Can you tell which pieces are new?  And which are the original antique elements?  (hint - the plinth blocks are a new design, as well as one of the legs)


Once it was installed, I got to work on the tile surround.  I don't want to draw a lot of attention to the tile - the star of the show is the mantle.  So I went with this simple mini marble and grouted it in a neutral colors to blend in.  This will coordinate beautifully with the trim in the rest of the house.

Next detail is the newel post.  The original staircase was in what was essentially a closet, so there was no handrail or newel post.  Once we opened up the walls, they are essential elements - but I wanted them to be pretty and add some style to the house. I had these newels custom made many months ago and recently spent a week staining and sealing them.  Kyle got them installed and I'm pretty thrilled with the result.  Once we get all the painting done, he'll come back and install the handrail and balusters.

Would you have guessed this is a closet?
Another detailed element is the 'dry bar' (okay, so not particularly vintage, but still a cool detail!).  This was originally a closet in the living room, but it looked odd because it had what appeared to be a step under the door and everyone assumed it was a staircase.  When you opened the door, you found shelves behind a curtain.  It wasn't quite the elegant look I was hoping for in the living room.  

So after much deliberation, we decided to keep some storage space with a cabinet, but put a quartz countertop above the cabinet.  That way there is room to put glass display shelves above it with a nice recessed light highlighting the whole space.  Once the original molding was put back in place, it's a pretty sweet spot.
My husband has joined the team!!! 

And finally, we added wainscoting in the dining room.  This is a very traditional treatment for a bungalow and will add a lot of interest to the room.  We use MDF for the panels - it's very stable and won't shrink or expand with the seasons.  We added a plate rail groove into the top of the trim, so it can display artwork as well as the more typical plates.  Soon it will all be painted to match the rest of the trim in the house.


I'll be wallpapering above the wainscoting with this simple, traditional paper.  It's a very muted design (I think of it as William Morris-esque) and will add some antique style to the room. 


We have lots of other surprises in store - it's so nice to be doing all the fun stuff!  


Pin It

Wednesday, September 15, 2021

The Cozy Front Vestibule, Porch, Foyer...... What Should We Call It?

I don't know why I'm so excited about this entrance - but I love it!  It started as a basic enclosed porch with a storm door and exposed studs/insulation..... not exactly a focal point for the house.  A bit sad and dreary, but it had so much potential!  And while it's not big - only 6 x 8 feet - it can be a pretty fabulous first glimpse to the rest of the house.  


But what should it be called?  A vestibule?  A 3-season porch?  A foyer?  I'm curious what everyone thinks.  

Photo from the day we bought the house

Before we go too far, let's talk about the space.  Initially, I thought we should open up the walls and make it interior space and part of the main house.  But as I spent more time there, it became clear that it's a really special spot.  Facing east, it gets the full morning sun and it's an amazing place to have a cup of coffee in the morning - and watch the dog walkers and school children go by.  Even on the coldest mornings (this is Maine after all), it's a warm, cozy spot.

So it will be a true 3 season porch.  We ripped out the pathetic insulation that was exposed in the existing room and replaced it with new insulation in the ceiling, crawl space and walls - but we didn't add a heating system.  So in the winter, it would be best to leave the door to the main house closed, but it could certainly be open the rest of the year.  

It's been such a struggle to get this little room done!!!  The front door was on order FOREVER, but finally showed up and I'm sure the neighbors are grateful πŸ˜‚.  

The custom made stained glass house number exceeded expectations, but it had a 12 week lead time as well.

Once those were installed, we could put in the new subfloor and then I could start the tile job.  I agonized for months over what tile to use for the floor.  My first thought was it should be a hard wearing ceramic, this is an entryway after all - but all the tile I saw was too contemporary looking for the space (and the trendy new 12 x 24" tile would just look odd in a small space like this).  And then I saw this stone flooring.  It's tumbled stone, so it has a bit of a rustic finish, which is perfect for an entryway since it can take some abuse and still look good.  (And in reality, no one in Maine ever uses a front door, particularly when the driveway is next to the back door!) 

The stone mosaic looked a bit blah when it arrived, but once I coated it with a stone enhancer, the color really popped!  Isn't it gorgeous? 

Why use stone enhancer on the raw stone???  Because it brings out the color and texture!

For the walls, I wanted to keep the cedar shakes around the original doorway - but add bead board on the rest of the walls.  Since this is a 3 season porch, I wanted something that could handle a little bit of rain if the windows got left open.  The trim is still a work in progress, but copies the style we have in the rest of the house.  


So what would you call this room?  A vestibule - where you could have package delivered without the delivery person having access to the rest of the house?  A foyer?  Or maybe a porch.  What's your vote?
View as you come through the front door!!!  So much space!


Pin It

Wednesday, September 8, 2021

Storage Solutions - IKEA Hack


IKEA Hack - Built In Dresser

A few years ago I asked our readers what was most important to them in a primary suite:  a big bedroom, a big bathroom or lots of storage.  Storage won, by a landslide!  Let's face it, we all have more 'stuff' than we need and storage space is always at a premium in an old house.  So the trick is figuring out where you can capture every square inch of storage!

This bungalow has a gable roof, so some sections of the room have low ceiling heights.  Normally that would limit its usefulness, but we took a tip from other antique bungalows and figured out how to create storage space in the low hip gable space.

Photo:  IKEA website
Our approach -  create built in dressers.  We took a couple of IKEA dressers and modified them to fit into the wall.  For the longer wall we could use the Hemnes large dresser and the smaller wall worked with the three drawer unit.  I liked the Hemnes because they're made of real wood and can be painted to match the rest of the trim.  

To get started, we put them together per the instructions, but left the drawers out until the end.  To give it that built-in look, Brian trimmed the front edge of the top and removed the legs at the bottom.  That way they fit perfectly into the opening we created in the wall.  I had millwork custom made to match the original, so once he added that around the dressers, they look like they've been there for years! 


Doesn't the dresser look like it's always been there? 

I bought antique style knobs, that we'll install after the whole unit is painted.  

This could easily be a DIY project for someone to do in their own home.  Isn't this a fantastic way to create additional storage? 


Pin It

Wednesday, September 1, 2021

Recreating a Vintage Bathroom - aka the Anxiety Provoking Tile Project

Can you say vintage???  Because that's our goal for this bathroom. It probably had lots of charm when the house was built in 1926, and our goal is  to recapture some of that antique style (because seriously, who wants a 1980's bath??).  So this was a full gut job - we went back to the studs and started over.  Farewell oak cabinetry and weird shower built in the middle of the room.  And farewell pull chain light (I'd say farewell to the electrical, but there weren't any outlets in the bathroom! 😳)

With everything gutted, we updated all of the infrastructure:  we insulated the exterior wall, installed all new wiring, plumbing and drywall.   So finally, you'll be able to plug a hair dryer in!!!  Now that's modern living!  With all that complete, it's finally time for the fun stuff.

I agonized for weeks and weeks about creating a vintage style floor.  I want that to be a big focal point for the room.  I combed through Pinterest and Instagram and found lots of inspiration.  Ideally I would have liked to purchase a pre-made design.  But alas, thanks to COVID delays, there was nothing available.  So I resigned myself to creating a design from scratch - a daunting task, but the only option.  

I laid it out 'dry' and marked where I wanted the snowflake style pattern, making sure the spacing fit evenly across the room.  And I numbered each sheet of tiles, so I could figure out how they went together - like a puzzle!


Then I started installing the white tiles, cutting out the holes for the black tiles to get inserted.  If you've ever installed hexagonal or penny tiles, you know how exacting the work is - if you get one row of tiles out of place by the slightest bit, the whole tile job goes bad in a hurry..... so this was a slow process to get it right. 


What do you think?  Does it have that vintage vibe?

For the walls, I wanted to stay with the black and white styling, so installed a simple white subway tile with a diagonal 4x4 set of tiles in the middle.  It adds a bit of interest, without being overwhelming.

See the big cabinet on the right?  That's going to provide so much storage!  Lots of shelves and ventilated drawers to hold everything you need (and there is a nice linen closet outside the bathroom, with even more storage). 

Next week the sink will go in, with its antique style, I can't wait to see it in place.  And once painting is complete, I can install the wallpaper.  So there is still a lot to accomplish, but this is nice progress!


Pin It
Related Posts Plugin for WordPress, Blogger...