The odd thing about our house is that every room has a different ceiling height. When we bought the house, the majority of the rooms had 7' 4" ceilings, so we have done our best to eke out any additional height that we can. Some had a bit more expansion space, some a bit less. And we got a bit carried away in the kitchen, where accessing the old attic space provided us with 14 foot ceilings. This seemed so extreme compared with the rest of the house that we lowered it to a more manageable 11 feet.
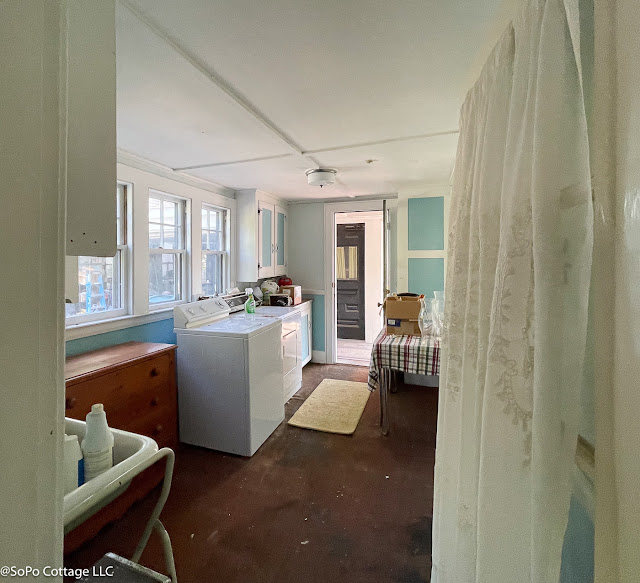
As a reminder, here was our starting point in the kitchen.
 |
| Original Service Porch - will be eating area & mud bench soon |
I do love the tall ceiling. But even with the reduced height, the kitchen ceiling just seemed like a huge expanse of boring white drywall. It needs to be more interesting! So we set out to change it.
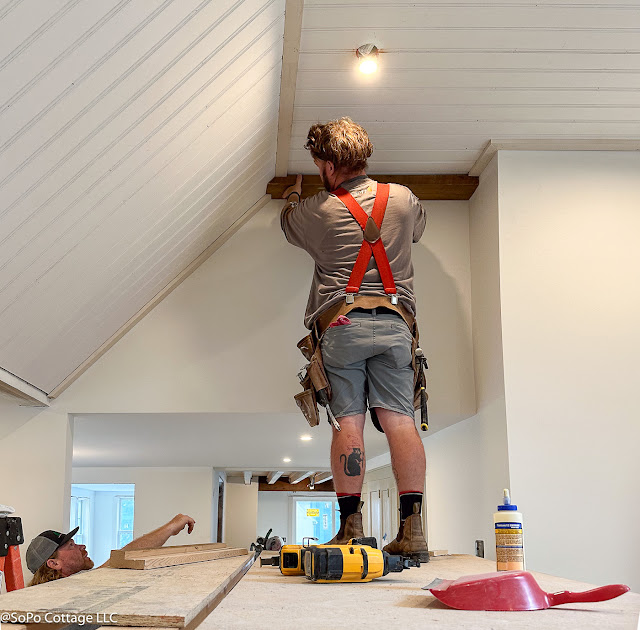
Since the original kitchen was covered in beadboard (very typical in old Maine cottages), we wanted to incorporate that original style. But I have to admit, real beadboard can drive me crazy as it expands and shrinks with the seasons, creating lots of gaps. My favorite solution is to install beadboard panels, so you only have a seam every 4 feet. Kyle started with the top of the ceiling and then moved down the angled walls.
He 'picture framed' the edges to provide a finished edge, but also to provide a bit of expansion/shrinkage space for the panels.
We also wanted to utilize the original joists that came out of the ceiling. My husband cleaned them up and sealed them.
 |
| Original Kitchen Ceiling Joists |
Then he held up a sample on the top ceiling, so we could decide if we liked them. It got an enthusiastic thumbs up! Next step was to figure out the spacing.
The joists had to be carefully cut to exactly fit the angled ceiling.
Ultimately the beadboard will all be painted white, in a satin finish. The beams will get carefully wrapped to keep their original patina. And the result? Well, we can't wait to see it! Pin It


No comments:
Post a Comment