Wednesday, June 28, 2023

Temporary Living - Curb Appeal Update

We are so grateful to have a place to live while we complete all the renovations on the 1898 House.  And while the house is perfectly fine as a temporary home, I couldn't resist making some changes.  Perhaps this post should be titled what my husband calls "Can't we just focus one one house at a time?" 😂 After 40+ years of marriage, you would think he'd know the answer to that!

To my way of thinking, the house needed a curb appeal update.  The yellow siding was badly faded and oxidized, it had holes and cracks in lots of places, and it was missing sections of J Channel (which holds the siding securely to the body of the house).  I was worried in a big storm, the wind could rip those sections of the siding right off the house. 


Some sections of siding weren't attached to the house

The roof had also seen better days.  It wasn't actively leaking, but was near the end of its lifespan.

So we started making changes.  We put a new roof on both the house and garage (my rule of thumb is similar to Henry Ford's - any color is fine, as long as it's black). 

The garage roof had several leaks - the new roof made such a difference!

For the siding, I wanted a color that was different than the neighbors.  I settled on Wedgewood Blue, which interestingly enough many of the neighbors refer to as gray.  

Pine Point Home Improvements removed all the old siding and wrapped the house in a house wrap that minimizes air infiltration, while still allowing the house to breathe.  Then they started replacing all of the old siding. 

A key to the project was replacing all the metal window trim as well.  This was a real game changer on the house. If you look at the original photos, you'll see a plastic J channel surrounding them - a cheap, quick way to install vinyl siding.  By installing new metal trim, the end of the siding is hidden behind the window trim, so it looks less like vinyl and more like traditional siding (without all the maintenance!).   In fact, I've had so many people stop by and ask if it's vinyl or wood!

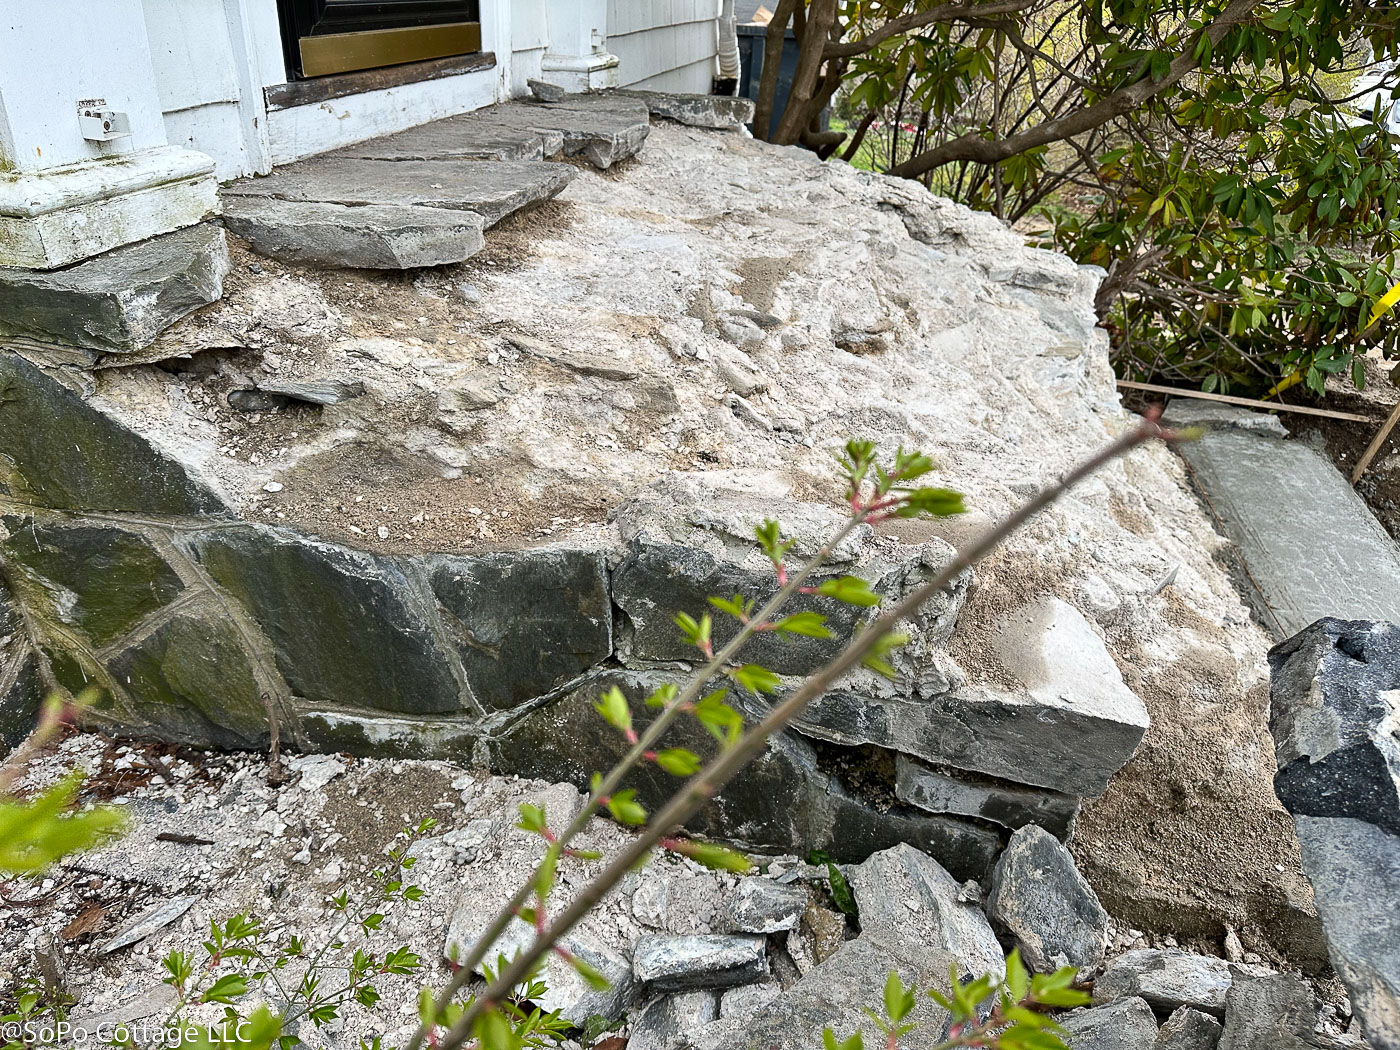
And while we were making these changes, we also needed to update the stone stairs.  They were in reasonably good shape, but needed some repointing.  Chase from CPC Masonry came to the rescue and updated them to look like new!


I didn't want to put shutters back up, but without them, the house seemed a bit plain.  I added window boxes, but it was still missing something. 

A bit plain, don't you think?

Then a lovely friend offered me her antique trellis that she'd saved off of her old house.  She hadn't found a good use for them, and they had been sitting out in the weather for years.   But she thought they might work well.  Wow, was she right!  It took a bit of elbow grease and paint to clean them up, but they're gorgeous now!

I've never had my own window boxes before - so much fun to change them out with each season!

Now I just love the front entry - it's made such a difference (the front door needs a bit of work, once that's done, I'll actually paint it!).  The curb appeal is vastly improved!


Next - I'll share some of the photos from the backyard.  It's so charming! 


Pin It

Tuesday, June 13, 2023

Curb Appeal Progress and Planning

Curb appeal - well, we are seriously lacking that at the moment. The house certainly isn't pretty and it's getting worse by the day!  


As we have found in so many other areas of the house, the exterior was built with bits and pieces of other houses or whatever building materials they had available. 


The ‘clapboards’ that you see on the bottom section of the house are a post Civil War era product called drop siding. Drop Siding was made to nail directly to the studs with a finished face on both the interior and exterior.  It was extremely popular in cottages, where a secondary interior wall wasn't needed.  By the late 1800's it was available in multiple styles.


 It eventually fell out of favor, because the tongue and groove couldn’t be made water tight (especially here on the Maine coast where storms tend to come with horizontal rain off the water). It's problematic for us, because the beveled clapboards don't allow us to install new siding directly over it.  Instead we are going to add a layer of sheathing to give us a continuous, water/air tight exterior. The sheathing will also help provide more structural stability, since so many of the studs are spaced far apart (remember our mantra - "how is this house still standing?").


So what kind of siding will we use for the renovation?  When we purchased the house, it had cedar shingles.  But we like the idea returning the house to its original clapboard style.  And that's the approach we will take, except for the garage, where we can leave the cedar shakes to provide a bit of visual difference from the rest of the house. 


What else are we doing to improve curb appeal?  Well windows are a big, big factor.  The windows were originally installed in an odd pattern and were all different shapes and sizes.  We are changing that!   While we can't make it all look perfectly uniform, this will be a big change.  And with the addition of a lattice panel on the front, it should look pretty nice! 


The other side of the house has also seen changes with new windows on the original house and the dormer.  


It's so much fun to see the plan start to become reality! 


The question I keep getting over and over - "what color will the house be?".  And that's still a point of debate in our household.  Obviously it's been white for many years.  But we have also found old photos that show it was once a dark color.  For now, I'm looking at options and hope to have some plan soon.  I'll share as soon as we have an answer!  


Pin It

Wednesday, June 7, 2023

Creating an Antique Style Kitchen

I've been planning this kitchen since the first day I walked into the house.  When I realized there was a large attic above both the main kitchen and the adjoining service porch, I started dreaming of a spacious kitchen with vaulted ceilings.  

It was a lot of work to open up these spaces - but it was totally worth it.  And thanks to the skill of our talented carpenters, the new kitchen is already taking shape.

Sure, we don't have walls, plumbing or electrical - but we had to order the kitchen cabinets to have them ready in time for our project.  So there has been lots of design work going on!  I did this mockup of the island and central light fixture. 


We don't want this to look like a modern kitchen.  We'd prefer it have an old world style that's appropriate for a 125 year old house (but of course we want modern conveniences!).  That led to many of our design decisions. 

First up was the cabinetry selection.  Old kitchens have what are known as inset cabinets.  These are typically custom made cabinets where the door is flush with the frame (as opposed to overlay cabinet doors, where the door sits in front of the frame).  

Crownpoint Cabinetry Factory - inset drawers in cabinet

But custom kitchen cabinets are very expensive and given all of our other budget overruns, that wasn't in our plans.  That's when I discovered Crown Select Cabinetry, which is a semi-custom cabinet that builds inset cabinets at a more affordable price.  We had the opportunity to visit their factory in Claremont, New Hampshire and really liked their manufacturing process and quality cabinetry.

We had a great factory tour!

I sent Bob Davis our initial design layout which included our desires for a farmhouse sink, center island, an antique hutch for a pantry and a banquette for dining.  Bob came out and measured and we started working on the detailed plan.  


Here are the 3D images Crownpoint's software generated from the plans.  The refrigerator and dishwasher will be hidden behind cabinet panels, to help disguise them a little.  The microwave is across from the sink, which will at least hide it a bit (because I really hate looking at a microwave!) 


My husband wanted a coffee bar - that includes a wine fridge, so I guess it's a multi purpose bar.  It's not an antique style element, so we hid it in a corner!  


We found this beautiful cabinet at Portland Architectural Salvage and will repurpose it into a pantry.  The combination of old/new is one of my favorite things about the kitchen. 


I want a vintage style tile for behind the stove and bar sink.  I love this handmade tile I found at Distinctive Tile & Design - but I'm still agonizing over the color.  (And notice the little peek of the fabric for window treatments!) 

Speaking of color, the cabinets will be 'Accessible Beige', by Sherwin Williams.  All of the trim on the first floor will be the same color.  I've done this in other houses and love the vintage look! 

So the contracts are signed and the cabinets are ordered.  Now we just need all the important behind the wall stuff - oh and some walls too!  

I loved the cathedral ceilings so much!!!


Pin It

Wednesday, May 31, 2023

The Temporary - Over the Top - Open Floor Plan

Notice the staircase to nowhere!!!
You may remember the post about the living room ceiling conundrum - click here.  We agonized over ripping out the fancy drywall ceiling to expose the original joists and beadboard and gain a tiny bit more ceiling height.  Ultimately we went for it, only to discover the joists looked like they'd been installed by someone that had never owned a tape measure.


Some were 12 inches apart, some were 20.  And since they'd never been nailed into the carrying beam, they had also twisted over time.  
Modern building code requires even joist spacing - typically 16" apart

While I knew the odd spacing would visually drive me crazy, I was also worried the weird spacing wouldn't provide the structural support we needed.  We're adding a bedroom and bathroom over that space, which is a lot of added floor load. So after checking with our structural expert, we found that 4x6 hemlock beams would fix visual and structural concerns.  We had to have them special ordered, which meant a 6 week lead time (this is why it's so hard to have a clear schedule!).  At last they arrived and we could install the new beams.

But it was a big job.  The guys had to take out the existing beams and subfloor, which created this weird open hole in the middle of the house.  It was like a dollhouse with part of the house cut away.  


I like an open floor plan, but this is ridiculous!!!

But with the old structure gone, the guys could quickly install the new custom joists and a robust subfloor above.  Farewell squeaky floors 

To finish the ceiling, we will install beadboard between each beam and then the whole ceiling will be painted white.  It will still be a low ceiling by modern standards, but the added visual height between the beams will give it the illusion of taller ceilings.  It will look so good!  Although I will miss that giant open floor plan 😀

Pin It

Wednesday, May 24, 2023

More Than a Facelift - The Front Stair Project

We love the front entrance to our house.  The pediment and columns are one of the few decorative features on the front.  And while we liked the stone stairs, we immediately noticed they had lots of cracks in the mortar.  Our fingers were crossed that it would just be a repointing job. 

No such luck (seriously, we haven't had luck on our side on this project!!).  Evidently the steps had been repaired over the years and fixing them was no simple matter.  There were lots of suggestions on how to fix them, but we really wanted to keep the original stone and old house look.


Thankfully Chase from CPC Masonry has experience with restoring old steps and wanted to retain that old world charm.  He carefully measured the original staircase and took photos so it could be put together just the way it was.

And it was a big job.  He needed to dig back to where the stairs were still completely solid.  As he pulled them apart we discovered the stairs, which had been exposed to the elements for many decades, were in bad shape.

Yeah, it was a mess.....

Thankfully, the very top and sides were still pretty solid.  

Freeze and thaw cycles over the years had degraded the top layers

He carefully started the reassembly process, making sure it matched the original.  It was a big job! 


One of our favorite features of the stairs were the stone posts which hold up the columns to the porch roof.   Chase did a fabulous job recreating them to the exact dimensions of the original posts.

And the finished product looks amazing! This is probably how the steps looked when they were new. Aren't they great?  Now the pressure is on me to get the old wood columns cleaned up and ready to be reinstalled.  I can't wait to see how it looks with everything back in place! 


They look like new!!

Pin It

Wednesday, May 17, 2023

Recreating the Gardens

A few of our long time neighbors told us they remember when our property had beautiful gardens.  They remember being able to peek into the yard and see lots of flowers, shrubs and a pergola.  Today there are a few bushes and perennials in the yard, but not much else.  

I'd like to change that.  I just finished attending the Garden Design program through the Maine Coastal Botanical Gardens.  It was 4 in-person classes and 4 zoom classes, starting in the cold early spring months when we couldn't do any real gardening anyway (BTW - the program was outstanding!!  If you're interested in a garden design program, this one is great!).


We started with the basics - how to create a base plan of your current property with overlays that include information like views, elevation changes, etc.  It didn't take me long to realize that creating the entire design at this point in our project was probably premature.  We've never lived in the house and don't truly know how we will use the space.  Plus the house is under construction till fall and there will be a lot of disruption until it's done.  So I decided to focus my plan on the side and backyard - where it won't constantly get beat up with construction debris. 
Ignore that dumpster!  This is our starting point.  It's a blank slate!

What kind of garden do I like?  Ideally, I'd like a traditional British garden, with lots of manicured hedges, formal perennial beds and a big mix of annuals to add summer color.  But I also know that takes far more time and energy than I could ever devote to it.  So I need something simpler.

For inspiration, I was excited by a story in a recent issue of Decor Maine that focused on landscapes - click here for the article.  Their garden plan had a wonderful variety of shrubs and perennials surrounding the house, that would take far less maintenance than a formal English garden.
Inspiration Photos influenced the overall design


One of our first assignments was to create a purpose for the garden.  This was a lot harder than it seems.  My purpose sounds a bit grandiose, but this is what I came up with:  Restore the yard to its past grandeur by creating a scenic landscape that embodies a Maine coastal garden.   

But taking an inspiration photo and a purpose and turning it into a plan for our property took lots of trial and error.  After creating the base plan of our current condition, I had a few must haves:
- Keep view of water from our deck and also for neighbors walking by (the best lighthouse view is from the middle of the street)
- Minimize the need for walls to traverse the slope.  Use paths and plantings.
- Eliminate the evidence of a former paper street on the property
- Incorporate native plants, to encourage pollinators and birds to visit the garden

My big 'ah-ha' moment came during a group discussion.  I wanted to be able to sit on our deck and see the garden around us.  But our instructor Cheryl quickly pointed out that no one would ever want to go into a garden like that.  If you can see everything from a distance, there's no reason to go walk through the garden.  So creating paths and corners will create mystery and interest, drawing people into the garden.  Game changer!!!  So I erased a lot of my previous plan and started again.

Ultimately, this is what I came up with.  The garden now has a few twists and turns that create a 'secret garden' area, where the slope changes in the yard.

 
I figure this is a 5 year garden plan, but I couldn't resist getting started.  So I had some top soil delivered, got my hose out to start creating the shapes from the plan and spray painted the borders. 

A garden hose and a can of marking paint is the perfect way to lay out garden beds!
I've started planting a few things, but will be adding more over time.  This crabapple was the first thing to get planted.  It's just starting to bloom and I can't wait to see that pop of pink when I look out the window.

Come for a visit in about 5 years - I might be done by then!!! 😂


Pin It
Related Posts Plugin for WordPress, Blogger...